How to avoid blurry product still photographs
When you create product still photographs, a number of problems with your camera settings can cause blurring. Blur can also be caused by a stabilizing issue or inaccurate adjustments. How do you solve the problem, and which macrophotography techniques can you use to obtain perfectly sharp results with flawless acutance?
Product still photographs motion blurring
When capturing a shot, it only takes a slight tremor in the photographer’s hand to result in a blurry image. Motion blurring affects the product photograph as a whole; there are no sharp zones. In some cases, the image of the product appears to have “double” contours. How do you solve this problem?
Using your camera’s stabilizer tools
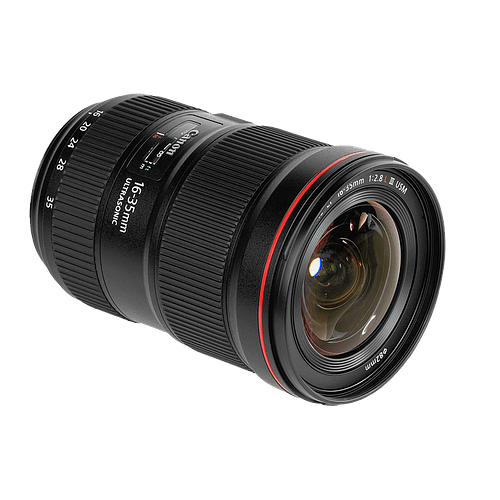
With technological advances in digital photography, an increasing number of cameras and lenses are sold equipped with stabilizers. For instance, Canon’s EF 24-105 mm f/4L IS USM lens has an IS button situated next to the cylinder. This is an integrated image stabilizer which automatically detects and corrects motion blurring. When you hold up the camera while taking a shot, it compensates for the micromovements of the product photographer’s hand thanks to a super-high-performance digital system. Some cutting edge cameras are even equipped with a five-axis stabilizer that lets you photograph your subject at very slow speed while holding the camera in hand (see video demonstration below).
Video demonstration of 5-axis stabilization:
Prevent blurring without adjusting the settings on your camera
Before adjusting your camera settings, you can reduce motion blurring by changing the way you hold the camera. If you hold the camera at arm’s length, it will not be completely stable, which means you have a greater chance of seeing motion blurring in the final image. Try bringing the camera close to your face to keep it steady. For greater precision, you can rely on the optical viewfinder rather than the screen when shooting your products without access to a monitor. To achieve the best grip, it’s important to stabilize the camera by keeping your arms and elbows close to your body.

Bring the camera up to your face, keep your arms and elbows close to your body, and use the optical viewfinder to avoid blurring when you take photographs in a sub-optimal lighting environment.
Increase shutter speed: the focal length vs. shutter speed rule
Generally speaking, there’s a simple way to determine your minimum shutter speed: the focal length vs. shutter speed rule. For instance, if the focal length is set to 18mm, you shouldn’t go below a shutter speed of 1/18s (1 divided by the focal length) if you want to obtain a sharp product image. Note that this only applies if you’re standing still. When you’re in motion, you’ll need to increase the shutter speed to maintain sharpness. Since many cameras now come with integrated stabilizers, the focal length vs. shutter speed rule is no longer as relevant. When the stabilization feature is activated, you may be able to go much lower than the minimum shutter speed according to the focal length rule. This will vary depending on the type of camera and stabilizer you’re using.
Some automated features, like stabilization, make it easier to manually adjust your settings
Product still photographs: using a stable stand or tripod
While it’s possible to increase the shutter speed, at a certain point you have to make a choice: either increase ISO sensitivity or get an under-exposed shot. That’s because the more you increase shutter speed, the less light reaches the sensor, resulting in a darker image. To compensate, you’ll have to increase the ISO, which creates digital noise (graininess). To avoid this problem, you can shift to a lower shutter speed while still producing sharp images, but only if you use a tripod. The tripod will stabilize your camera and let you capture images at a shutter speed of 1/4s up to several dozens of seconds without generating motion blur. In this case, you should switch off the stabilizer on your camera. Some dedicated product photography studios provide a uniform, modular lighting environment. This sort of environment, which has a light intensity similar to daylight, allows you to use optimal camera settings to photograph challenging items (e.g. with reflective or transparent surfaces).

The lighting environment in a photo studio dedicated to shoot product still photographs also helps you avoid blurring.
Focus blurring
When an image is blurry, it can be because the focus was directed at the wrong spot. How do you identify blurring caused by a focus problem?
It’s easy to identify a photo with a sharpness problem just by looking at it with the naked eye. However, it may sometimes be the case that the lens doesn’t exactly focus on the right spot, but instead focuses slightly behind or in front of the subject. When this happens, you can only see that the focus is off once you zoom in on the image. There are several ways to correct this problem: either by choosing the right focus point, the right autofocus mode, or using a smaller aperture.
Choosing the right focus point
If you’re just starting out in production of product still photographs, you’re probably relying on automatic focus mode. When a camera is set on automatic focus, it determines the zones or elements to focus on based on its calculations and an analysis of the scene. This sometimes works, but it’s often faster and more precise to use a single focus point, the central focus point (AF area, point selection). There’s a shallow depth of field when shooting small items in studio.

Choosing the right autofocus mode
Depending on the type of scene you’re shooting, you’ll need to select the right autofocus mode to avoid ending up with a blurry subject. With still object photography, all you need is spot focusing. This feature is called “One Shot” on Canon devices, and AF-S on cameras from other brands. As long as you press down partway on the trigger button, the camera will keep autofocusing until you press it all the way down to take the shot.
Avoid blurry product still photographs: using a smaller aperture
At full aperture, some lenses give you a very shallow depth of field. For instance, a lens opening at f/1.8 provides a depth of field of only a few centimeters. This means there’s a very narrow sharp zone. In portrait photography, focusing on the nose will result in blurry ears and eyes. To correct this, it’s best to focus on your subject’s eye or use a smaller aperture. By going from f/1.8 to f/2.8 you’ll get a sharper image, although you’ll lose some of the blurriness that you might be trying to achieve. Also worth noting, when you use a smaller aperture your product photograph will have a higher degree of detail, called the “acutance” of an image. On most lenses, the ideal acutance is at an aperture that’s a few notches closed, never at full aperture.
Preserve the optimal acutance for your product photographs with no blurry zones
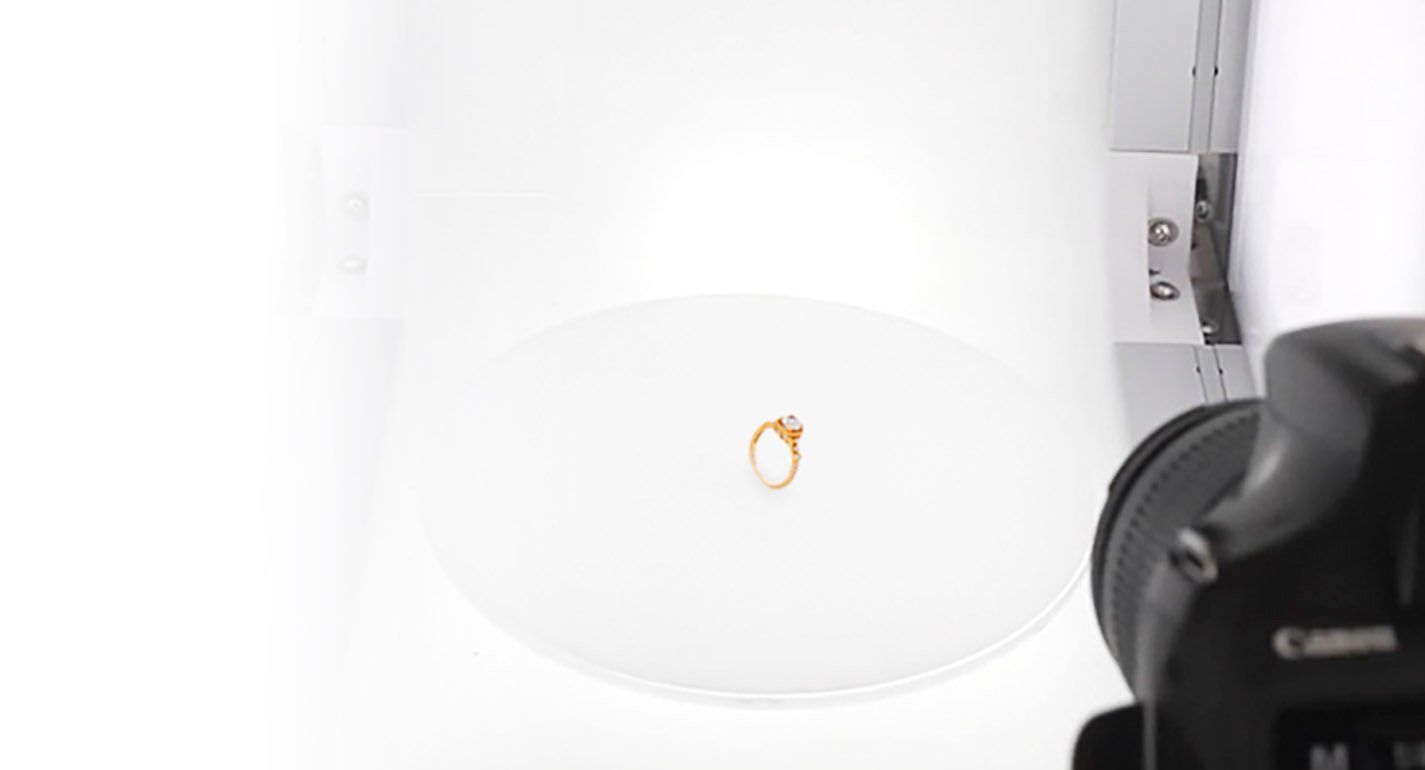
A macrophotography technique that results in perfect focus over the whole image.
There’s a special technique that lets you preserve the acutance of an image when you’re photographing timepieces, jewelry and gemstones: hyperfocus or focus stacking. Shooting gemstones, diamonds or watch mechanisms in macrophotography is done with a depth of field of only a few millimetres. You can’t obtain a sharp photograph of the item as a whole in just one shot. In this technique, you take a large number of shots of your subject while very slightly shifting the focus, without moving the camera. You absolutely must use a tripod with this method, otherwise you’ll end up with a blurry image. You then use software to extract the sharp zones and assemble them to create one perfectly sharp image as a whole.
Become the photographer of your products
Other posts you might be interested in :
Home decoration: more visibility with PackshotCreator
There has always been a special interest for home decoration and interior furniture product photography: home is at the same time a safe and relaxing place but also a new meeting spot with friends.
How to handle very small objects photos and animations?
Macro photography is the photography of very small objects. It is also referred to as close-up photography. However, taking close-up photos does not automatically mean that it is macro photography. For example taking the close-up photo of a person’s face is not macro photography.