How to create 360° animations of rings with automatic focus stacking?
Supply
Tool
Duration
-
1. Setting up the dual-point Hyperfocus
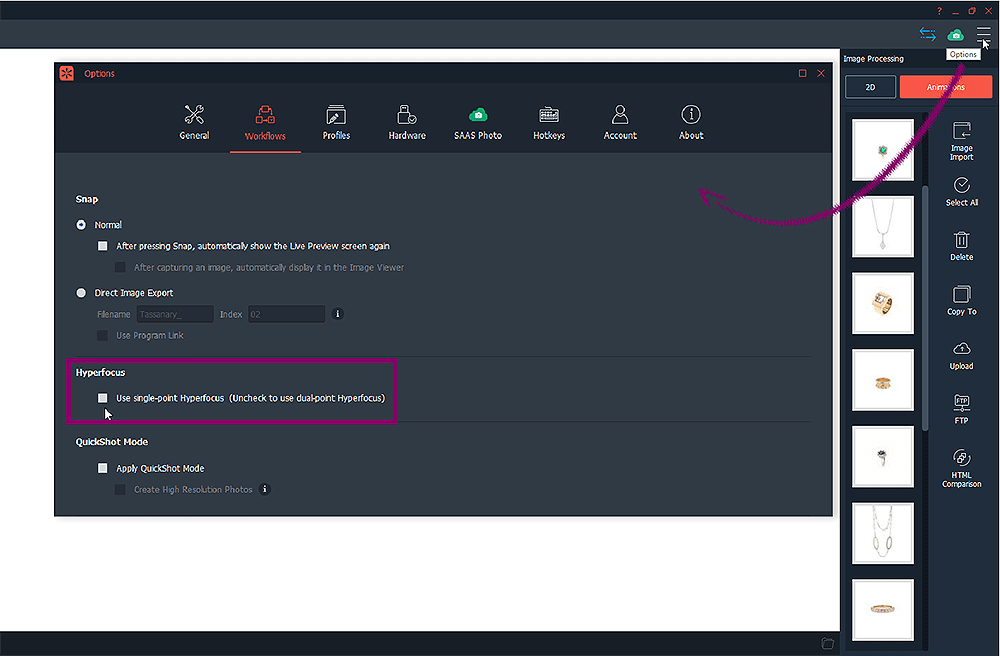
In this tutorial, we will use the dual-point Hyperfocus (focus stacking) workflow. To make sure your software is set up to the dual-point, go to “Options” and then “Workflows”. Under the “Hyperfocus”, the box should be unchecked.
-
2. Centering your camera
It is very important to properly clean your ring before placing it in the studio. See our tips on how to clean rings before photographing them.
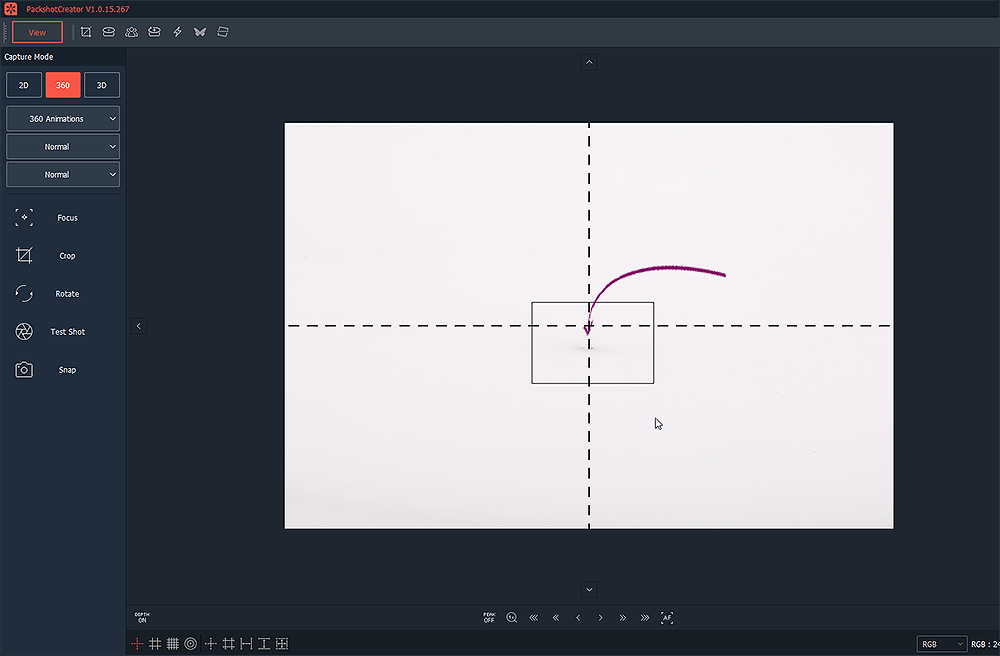
After cleaning, choose one of the turntable plates that best fits your ring. Next, make sure your camera is well centered to the center of the turntable. You can use the turntable plate’s hole as the reference to the center of the turntable and the vertical line on the software interface as the center of the camera. This vertical line should be centering with the hole as shown on the photo.
-
3. Positioning your ring in the studio

Open the “Turntable controls” and turn “ON” the suction system. After, simply place your ring in the hole. You can then use one of the 9 positioning rulers available on the software to make sure your jewelry is well positioned.
Under the “Capture Mode”, select “360 Animations” and then “Hyperfocus”.
-
4. Choosing the best camera settings and lighting
Modify your camera settings by choosing 11 as the aperture value and 40 as the shutter speed. You can then choose an ISO value between 200 to 400 for a better brightness. Make sure your focus mode is set on “FIX”
Next, under the “Lighting”, select “Daylight” as the lighting mode. Adjust the intensity of of each light source from 0 to 100% until you find the perfect lighting for your ring.
Tips: You can use the “Variable” or “Expert Mode” if you would like to play around with the color temperature.
-
5. Setting up your 360° animation
Under the “Animation Settings”, select the number of images you would like to create for your 360° animation.
Note: As more images you choose for the animation, the longer the 360 process will be. We recommend selecting not more than 36 pictures.
Tips: You can memorize these settings (camera, lighting, and animation) for future uses by simply lying clicking on the “Save” profile button.
-
6. Focusing the ring
Place the black rectangle in the front part of your ring and click on the “Focus” button to focus it. In order to be more precisely with the focus, you can zoom in by clicking on the “Zoom” button. If you see that the part of the ring you tried to focus is not sharp, you can then move it manually by using the left arrows.
Once your product is correctly focused, click on the “Snap” button.
Tips: To make sure if your ring is sharp, turn the “PEAK ON”. The colorful blink stops will show the parts of your product that are sharp.
-
7. The Hyperfocus process
In the first step of the Hyperfocus (focus stacking), you will be asked to select the increment (distance) of the different shots on your rings. Select the normal “>>” and then, click on “Next”.
In the second step, you will have to select the number of photos to be taken. Click on the + to add the photos and only stop adding when the peaking dots gets to the end of your ring. Then press “Next” and “Snap”.
Note: After clicking on “Next”, make sure the peaking dots correctly returned to the initial focus point (the front of the ring). If not, repeat the same focus process as in the second step.
Tips: The usual number of images for a small ring is between 9 to 12 images.
-
8. Creating the 360 animation

Now, the software automatically create the 360 animations with the Hyperfocus (focus stacking). In this process, the turntable will turn your ring 12 times (or less depending on how many images you choose for the Hyperfocus). For each turn, 24 images will be automatically created (or more or less depending on how many images you select for your animation).
Note: The photos are not going to appear on the software screen until all images are taken.
-
9. Saving your animation

Once the process is done, click on “Next” to save your 360 ring animation. Then, select the HTML Webp as the saving format. You can fully customized this animations by adding interactive buttons such as play/pause, full screen and zoom and more. Discover our tutorial on how to set the perfect HTML profile for a product animation?.


