Utiliser la photographie de produits à 360° pour des marketplaces comme Amazon
Pourquoi l’animation 360° est-elle un atout incontournable pour vos ventes sur Amazon ?
Dans un monde où l’image est reine, l’animation à 360° est devenue un levier puissant pour se démarquer sur les marketplaces. Si la photographie à plat (ou Flat Lay) reste prisée pour les vêtements, le format interactif à 360° révolutionne la manière dont les produits sont perçus en ligne. Amazon l’a bien compris et permet désormais à ses vendeurs d’ajouter ce type d’animation à leurs fiches produits.
Selon Forbes, "Des marques de bijoux de luxe aux constructeurs automobiles, les vendeurs en ligne exploitent le potentiel des visuels à 360° pour augmenter leur taux de conversion." Et pour cause : en enrichissant l’expérience d’achat, ces animations comblent l’absence du toucher en e-commerce et réduisent le taux de retour.
Pourquoi les images à 360° boostent-elles les ventes ?
L’animation à 360° offre une expérience immersive qui transforme la manière dont les clients interagissent avec un produit en ligne.
- Manipulation libre : l’internaute peut pivoter le produit à sa guise.
- Zoom interactif : chaque détail devient accessible instantanément.
- Annotations et hotspots : des informations essentielles peuvent apparaître au survol.
Une étude citée par Market Expert 24 révèle que les acheteurs observant des animations à 360° sont 14% plus enclins à finaliser un achat qu’avec des images fixes. Ce format est particulièrement efficace pour les secteurs de la mode, des bijoux, des jouets et de l’outillage.
Amazon et la photographie produit : des exigences claires
Pour garantir une qualité optimale, Amazon impose des règles strictes aux vendeurs :
- Format carré (minimum 1000 x 1000 pixels),
- Produit remplissant 85% de l’image,
- Formats acceptés : JPEG, TIFF, GIF,
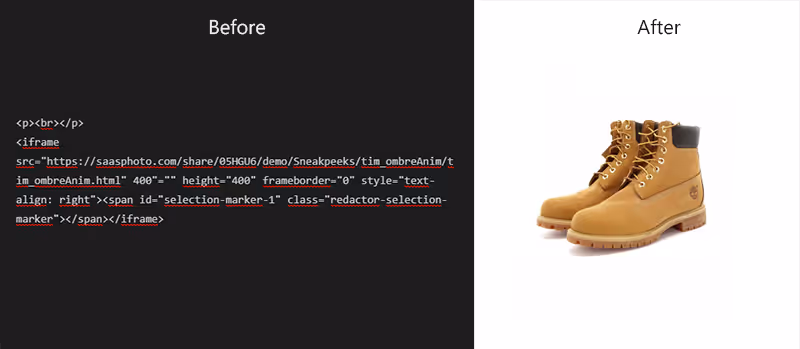
- Fond blanc pur obligatoire (255, 255, 255),
- Aucune distraction : pas de texte, de filigrane ni d’illustration.
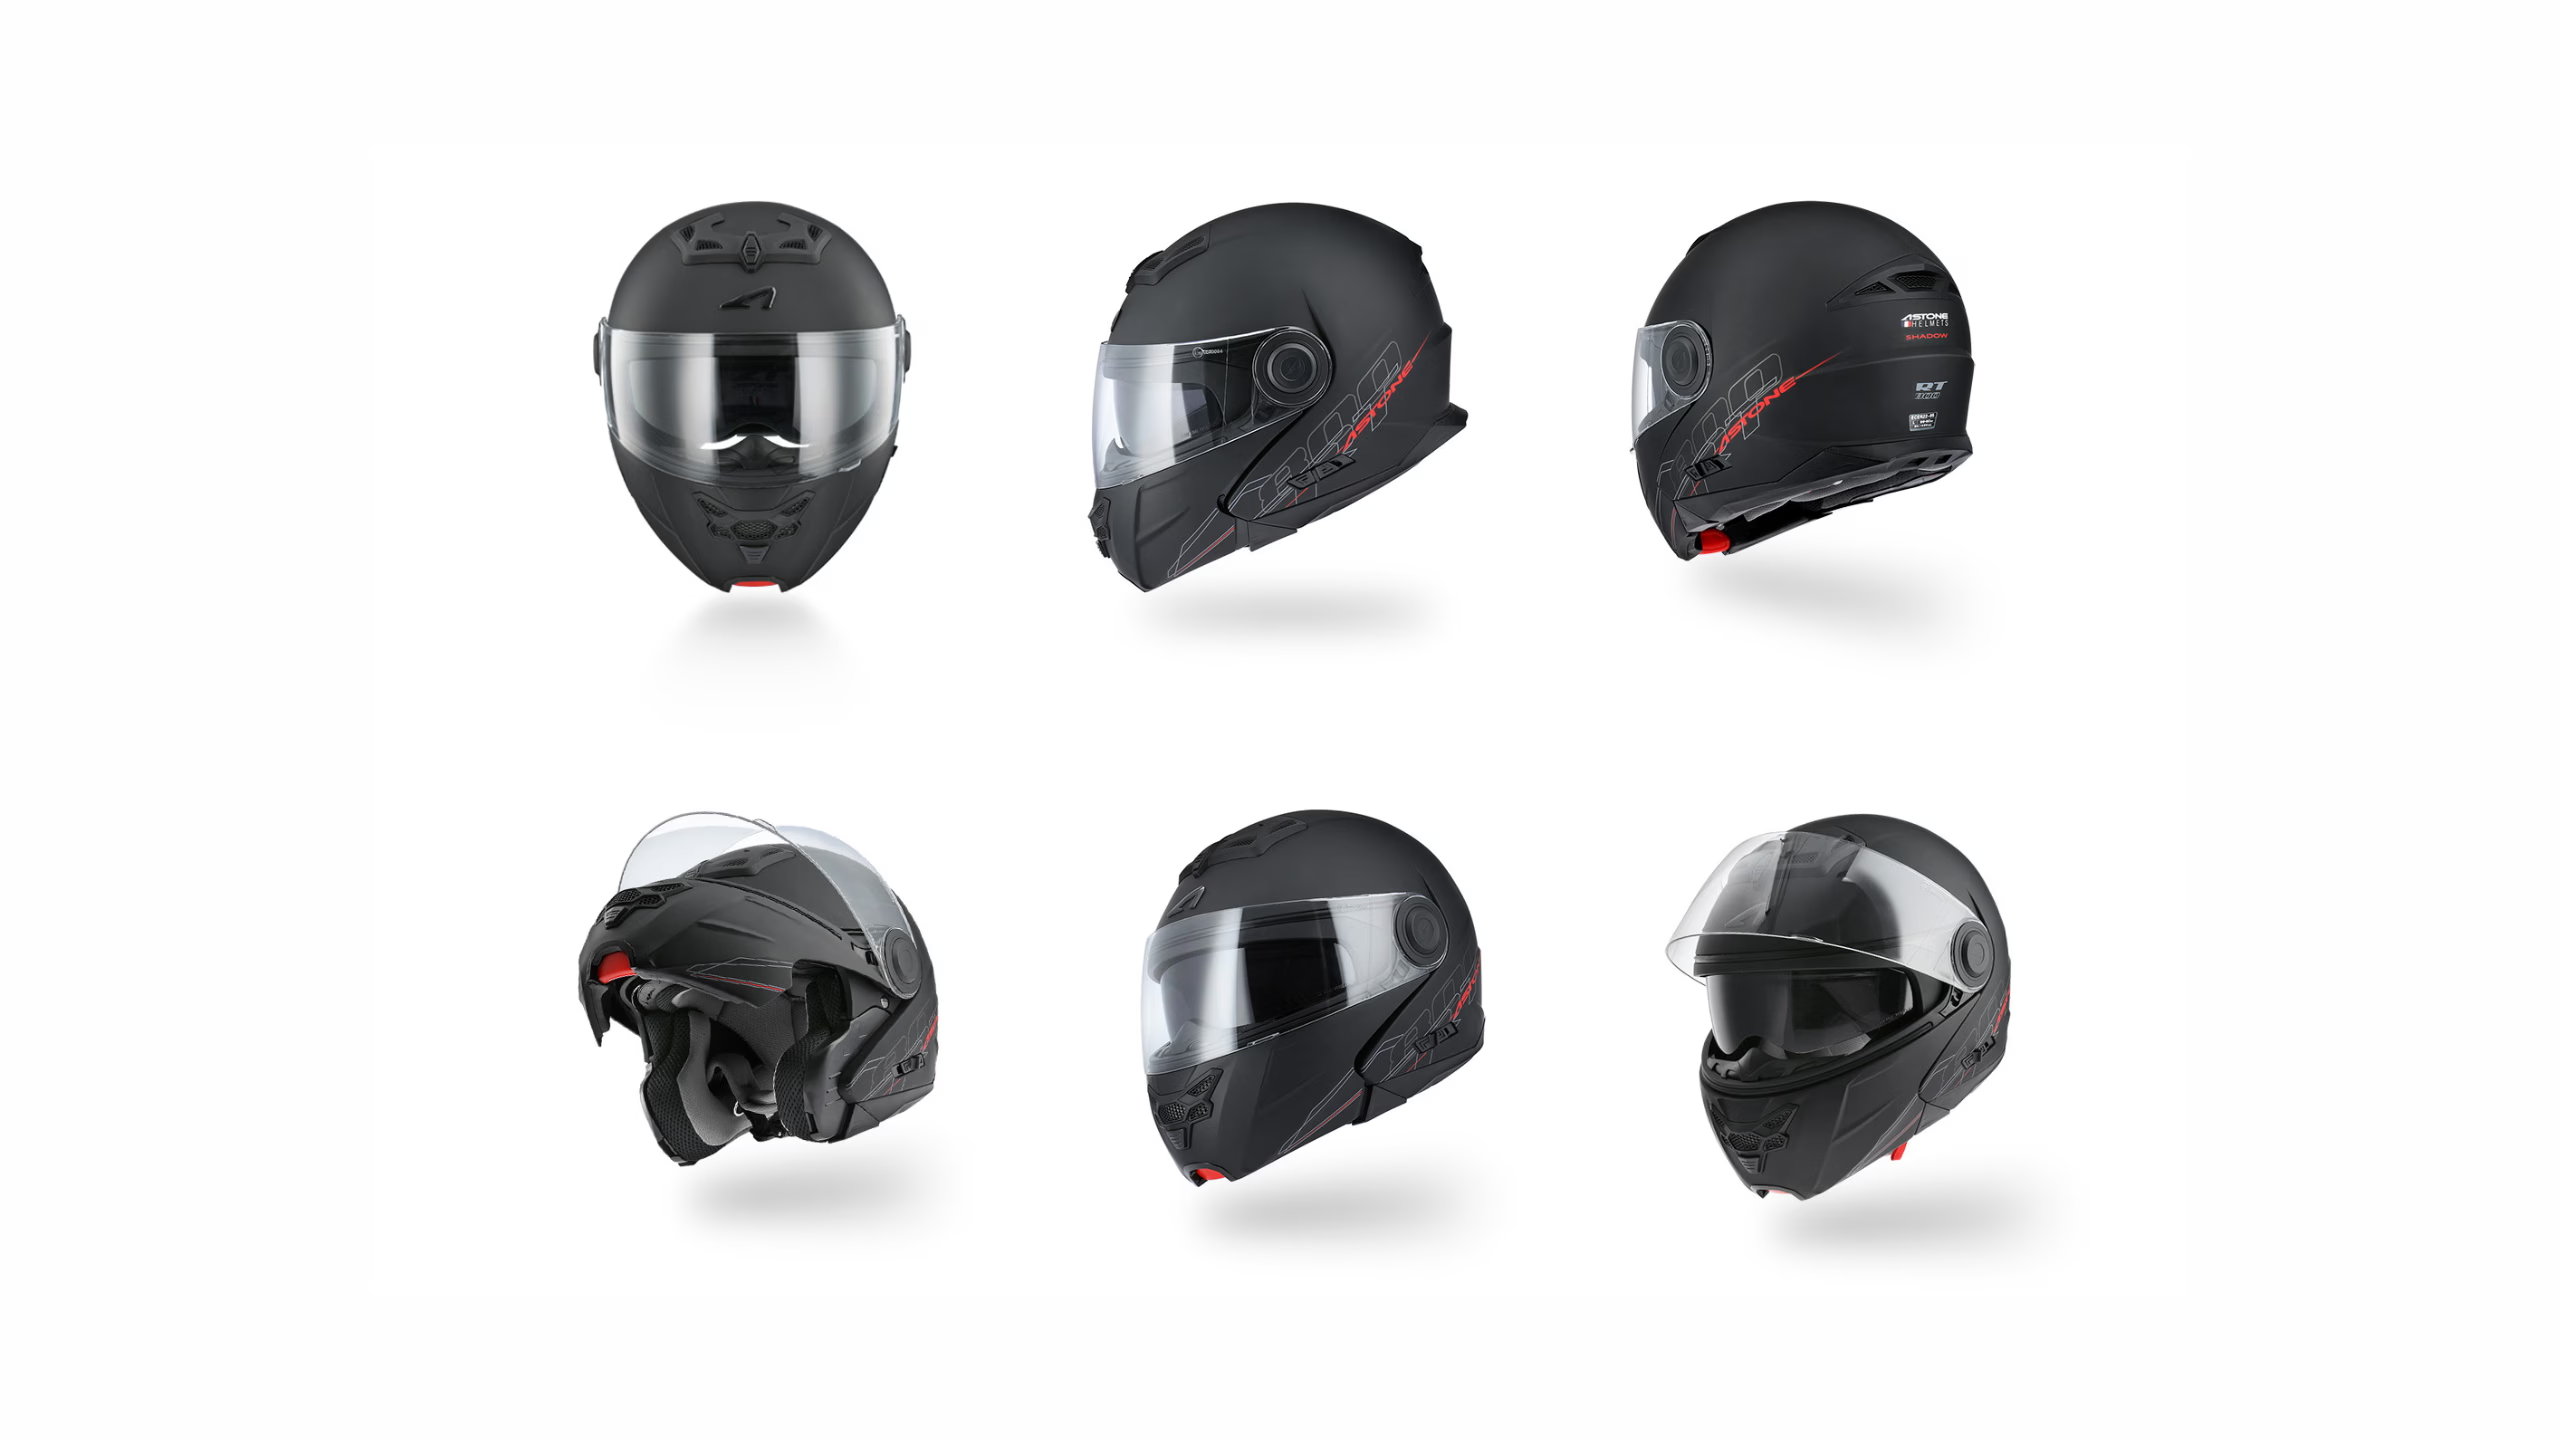
L’image principale doit être de haute qualité et représenter fidèlement le produit vendu. Il est également possible d’ajouter jusqu'à huit images alternatives montrant le produit sous différents angles.
Comment créer une animation à 360° en interne ?
Deux solutions s’offrent aux vendeurs :
- Recourir à des prestataires externes : pratique mais coûteux et moins flexible.
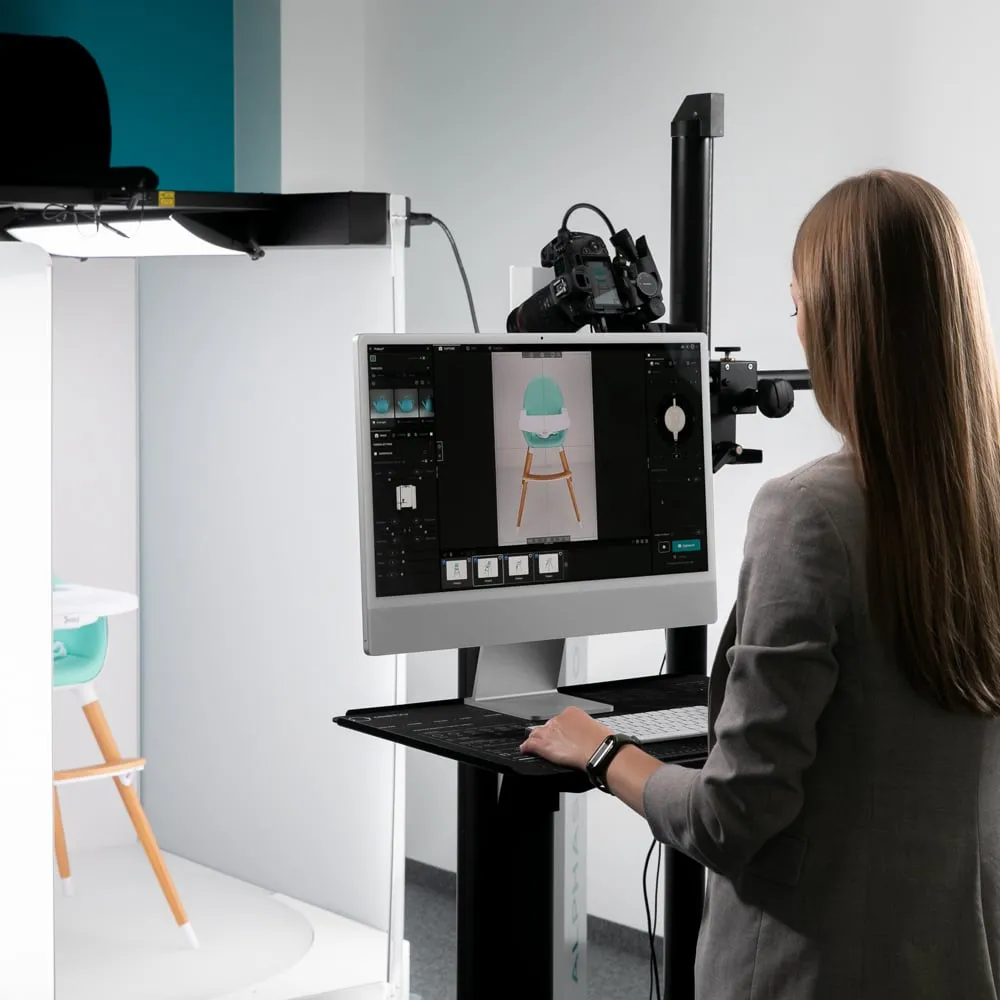
- Produire ses propres visuels à 360° avec un studio photo automatisé, garantissant une rapidité d’exécution et une maîtrise totale de la qualité.
Avec un studio automatisé Orbitvu, la création d’animations à 360° devient un jeu d’enfant :
- Système tout-en-un : plateau tournant, éclairage et appareil photo synchronisés.
- Logiciel intelligent : prise de vue automatisée et assemblage instantané.
- Format HTML5 : compatibilité universelle sur mobile et desktop.
Quelles alternatives aux animations 360° ?
Si l’animation 360° n’est pas envisageable, d’autres options permettent de mettre en valeur un produit :
- Photographie multi-angles : capturer plusieurs vues sous différents angles (face, arrière, 3/4, dessus, etc.).
- Vidéo produit : très efficace pour les réseaux sociaux, bien que moins interactive qu’une animation HTML5.
Pourquoi choisir Orbitvu ?
Les solutions Orbitvu permettent aux vendeurs Amazon et e-commerçants de créer facilement des visuels conformes aux standards du e-commerce. Elles offrent :
- Une automatisation avancée pour un gain de temps maximal,
- Une qualité d’image optimale, conforme aux exigences des marketplaces,
- Une solution tout-en-un intuitive, utilisable sans compétences techniques.
Conclusion : Un atout indéniable pour vos ventes
Adopter l’animation à 360°, c’est donner vie à vos produits et offrir à vos clients une expérience immersive. Plus qu’un simple visuel, c’est un outil de conversion puissant. Que ce soit via une animation HTML5, une approche multi-angles ou une vidéo, l’objectif reste le même : captiver l’attention et transformer les visiteurs en acheteurs.
Prêt à booster vos ventes avec des visuels impactants ? Découvrez comment Orbitvu peut vous accompagner dans la création de contenus visuels de haute qualité, adaptés aux exigences des marketplaces et des e-commerçants les plus exigeants.


