
HTML5 360 animations: keys to success for your e-commerce sites
E-commerce is evolving and so are consumer expectations. A new phenomenon is making a remarkable entry into e-commerce practice: HTML5 360 animations.
An impact on the turnover of your e-commerce
HTML5 360 animations allow you to make your site more pleasant and more attractive, they thus have a direct impact on the website traffic rate and on turnover.
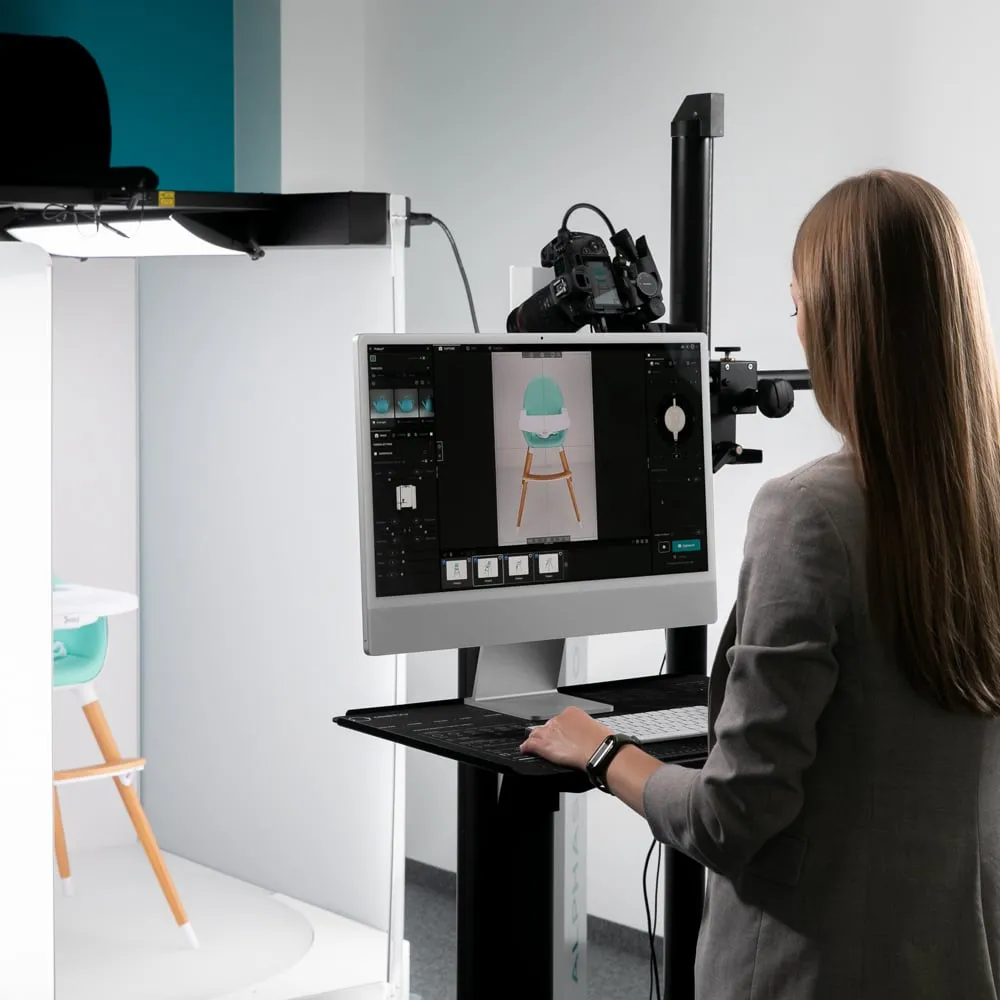
The sample of different types of animations is quite extensive. Here are some examples that you can easily put into practice and below is an example of creating a 360° animation with a Packshot 360 software.
Play on the welcome themes
By regularly adapting your home page around new themes, you immerse the visitor in different worlds and allow them to renew their experience and their Desire to buy. Working on specific themes increases visitor engagement. For example, someone looking for a gift for Valentine's Day, and coming across a home page, with a red theme, full of flowers and entitled “Valentine's Day” will immediately tell themselves that they are on the right site and can buy more easily than on a site with a more neutral home page. The presentation of Best Sellers, essentials, or promotions are strong incentives.
Seasons, news, artistic events or fairs can be other sources of inspiration for the creation of HTML5 360 animations or 3D spherical animations. They will complement and reinforce the visual charter implementation on your e-commerce website.
An interactive site
Give back your interactive e-commerce site ! Get as close as possible to what Internet users expect. Today, there are solutions for behavioral analysis or for analyzing the purchase histories of your customers. These algorithms make it possible to offer your visitors products in real time according to their own desires and their own tastes. Highlighting the opinions of other Internet users is a strong signal that can cause the envy of your visitors. The share buttons on social media are also means of interaction.
Animate your products
Example of 3D modeling of an ankle boot
Animating your products is a very effective way to make them closer to your visitors. According to an Ipsos study, the impossibility of testing products is an obstacle to online purchase for 64% of Internet users.
It is easy to remedy this constraint, using proven techniques such as 360° shots, 3D, photos of the different facets of a product:
- The favorite animations for 56% of Internet users are 360° animations, 3D hemispherical animations and the possibility of zoom in.
- Photos showing different angles of a product are also highly appreciated by 31% of voters.
- On the other hand, classic videos and photos still win 7% of the vote.
All these techniques allow you to be as close as possible visitors to your e-commerce website and especially to give them the impression of touching and testing the product. The closer your customers feel to the product, the more likely you are to close a sale.
In conclusion
It is now possible to live real user experiences by immersing yourself in a interactive virtual tour. The visitor then finds himself in a virtual universe in place of the user; he can then discover the entire product from home. The future with augmented reality for your e-commerce is on the way!
Your visitors want to be surprised. Today, there are many ways to increase their proximity to the product, to make it more real, closer, to give the impression of touching it, seeing it and testing it.
The barrier that the internet can represent, between a buyer and a product, is gradually being dissolved thanks to these animations and the dynamism that you will give to your site.


