How to enhance the texture of a lipstick in a product photo with AI?
How to enhance the texture of a lipstick in a product photo with AI?

Alphashot Pro G2
Orbitvu Station software and a lipstick
3 minutes

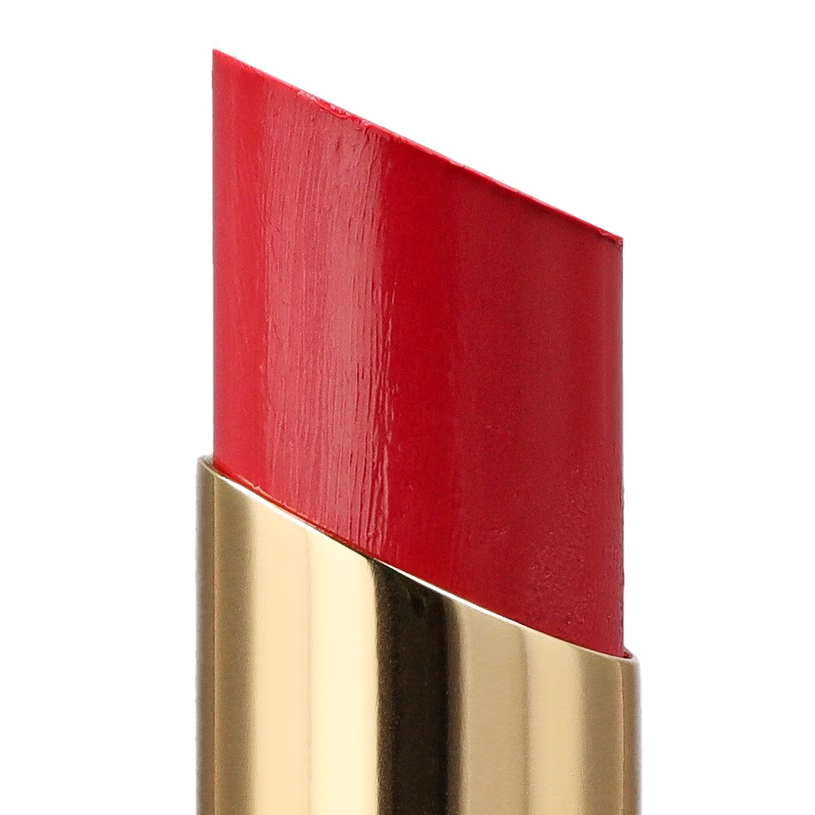
Product photography plays an essential role in e-commerce and cosmetic marketing, which is why it is important to capture details, especially texture. It is advisable for cosmetics, fashion and many other fields to offer close-ups of products to highlight texture.
The more information visitors to your website have about products, the more likely they are to make a purchase. 🛒
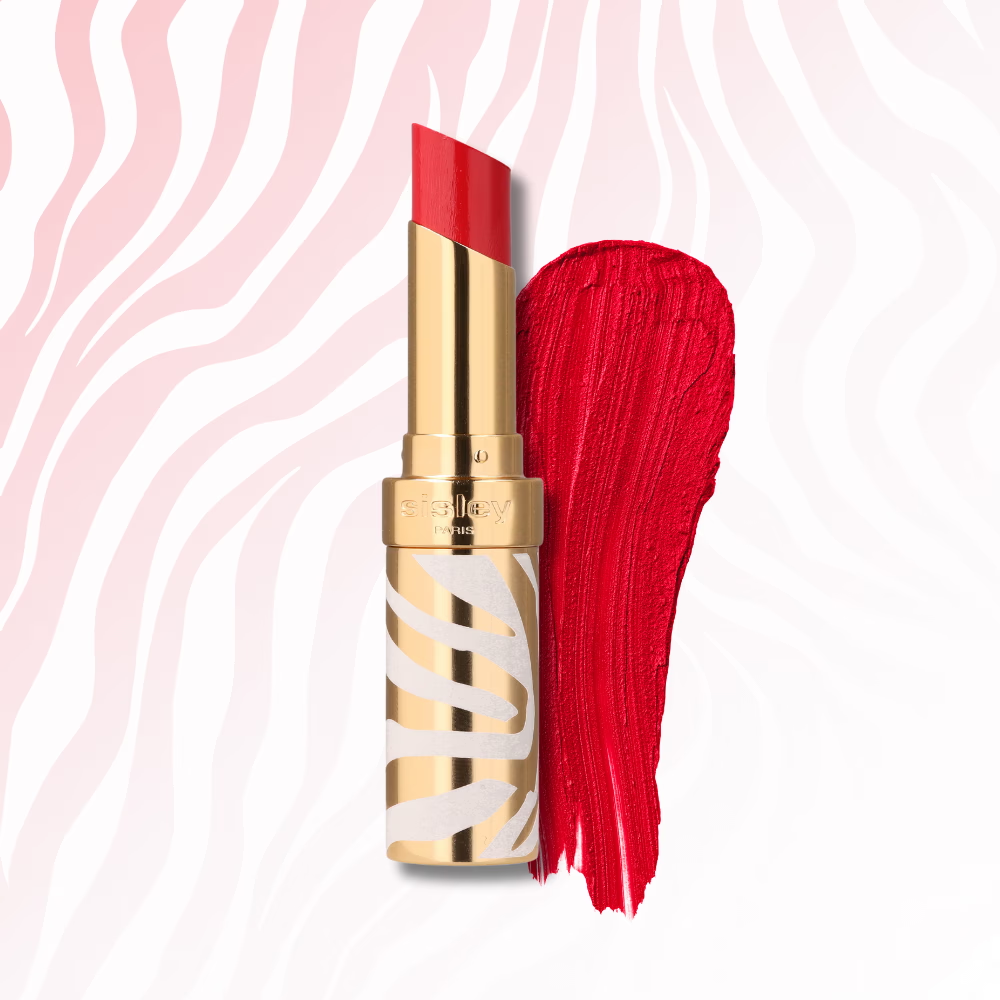
This guide takes you step-by-step through the steps needed to enhance the texture of a lipstick and obtain detailed visuals. 💄
Also discover our guide to enhance the texture of a blush through a packshot.
Place and center the lipstick
Place the lipstick in the exact center of the turntable. The studio has a integrated laser centering system to ensure accurate positioning, thus avoiding rotation errors that could affect the quality of the animation. 📍
You can also help yourself with center point of the plateau. Finally, check on your screen that the product is in the center and well oriented in front of the camera. 💻
✨ Tip : Make sure the lipstick is stable. If you are working on a small or cylindrical product that may move, use a piece of adhesive tape or clear double-sided tape.
Choosing an AI template
The Orbitvu AI Assistant comes with a powerful feature to suggest the best light configurations depending on the type of product. 💄
Once your lipstick is positioned, click on the “AI” icon and let the AI Assistant Scan the product and offer several adapted lighting options.🤖
The AI will offer you 4 light templates different, choose the one that highlights your lipstick the most. For our packshot we chose the Posh template.
Adjusting the light and the camera
Lighting is the key element in magnifying the reliefs of a product. Lipstick, with its semi-matt or glossy texture, can reflect differently depending on the light sources. 💡
Adjust your device settings: Low ISO (100-200) to minimize digital noise, Medium opening (f/8 to f/11) for optimal sharpness and shutter speed stable at 1/125. 📷
Start shooting
After taking a photo by pressing the 📷 icon to check that all settings are optimal, click “Capture All” to start shooting. 🎬
For photos that require sharp textured details, you can use the technique of Focus Stacking with Orbitvu's Superfocus tool. 🔍
Discover the focus stacking technique in our jewelry tutorial.
Increase sharpness and contrast
At this stage, highlight the texture: 💡
- Apply a slight increase in local sharpness to the stick.
- Subtly enhance contrasts to highlight streaks and reliefs.
However, avoid amplifying these changes excessively, at the risk of giving an artificial appearance or denaturating the product. 🚨
Export the final photo
Once your photo is perfect, export it in the format required for your platform. 📤
- Web format : JPG or PNG with a resolution of 72 dpi.
- Impression : High resolution TIFF or PSD format.
Solutions like Orbitvu allow you to publish directly from the Obitvu Station software to marketplaces like Shopify or Magento. 💻
FAQS
Why talk to our experts?
- 20+ years of experience: Unparalleled expertise in photo automation
- 10,000+ installations: Proven solutions around the world
- Continuous innovation: The latest advances in automated photography
- Personalized advice: Recommendations adapted to your specific challenges
- Accelerate your visual production
- Optimize your photo workflow
- Maximize your return on investment
Fill out the form now to benefit from our unique expertise. Our team will contact you within 24 working hours.


