Using 360° product photography for marketplaces like Amazon
Why is 360° animation an essential asset for your sales on Amazon?
In a world where The image is queen, the animation at 360° has become a powerful lever for stand out on marketplaces. If the flat photography (or Flat Lay) remains popular for clothing, the interactive format at 360° is revolutionizing how products are perceived online. amazon understood this and now allows its sellers to add this type of animation to their product sheets.
According to forbes, “From luxury jewelry brands to car manufacturers, online retailers are exploiting the potential of 360° visuals to increase their conversion rate.” And for good reason: by enriching The shopping experience, these animations Fill in the absence of touch in e-commerce and reduce the return rate.
Why do 360° images boost sales?
The animation at 360° offers an immersive experience that is transforming the way customers interact with a product online.
- Free handling : the user can rotate the product as he pleases.
- Interactive zoom : every detail becomes instantly accessible.
- Annotations and hotspots : essential information may appear on the fly over.
A study cited by Market Expert 24 Reveals that Buyers watching 360° animations are 14% more likely to complete a purchase only with still images. This format is particularly effective for the fashion, jewelry, toys and tools sectors.
Amazon and product photography: clear requirements
To guarantee optimal quality, Amazon imposes strict rules to sellers:
- Square format (minimum 1000 x 1000 pixels),
- Product filling 85% of the image,
- Accepted formats : JPEG, TIFF, GIF,
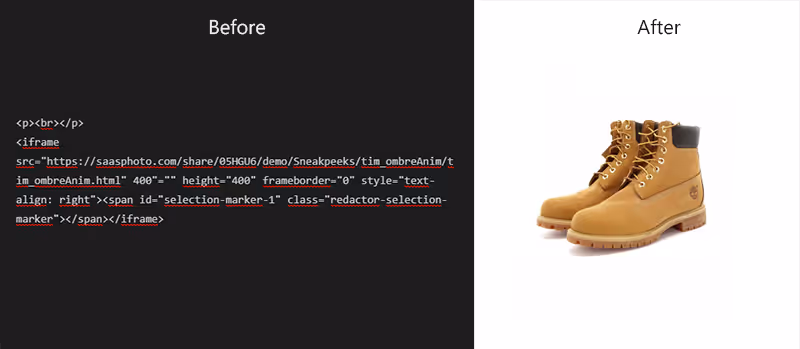
- Pure white background required (255, 255, 255),
- No distractions : no text, watermark, or illustration.
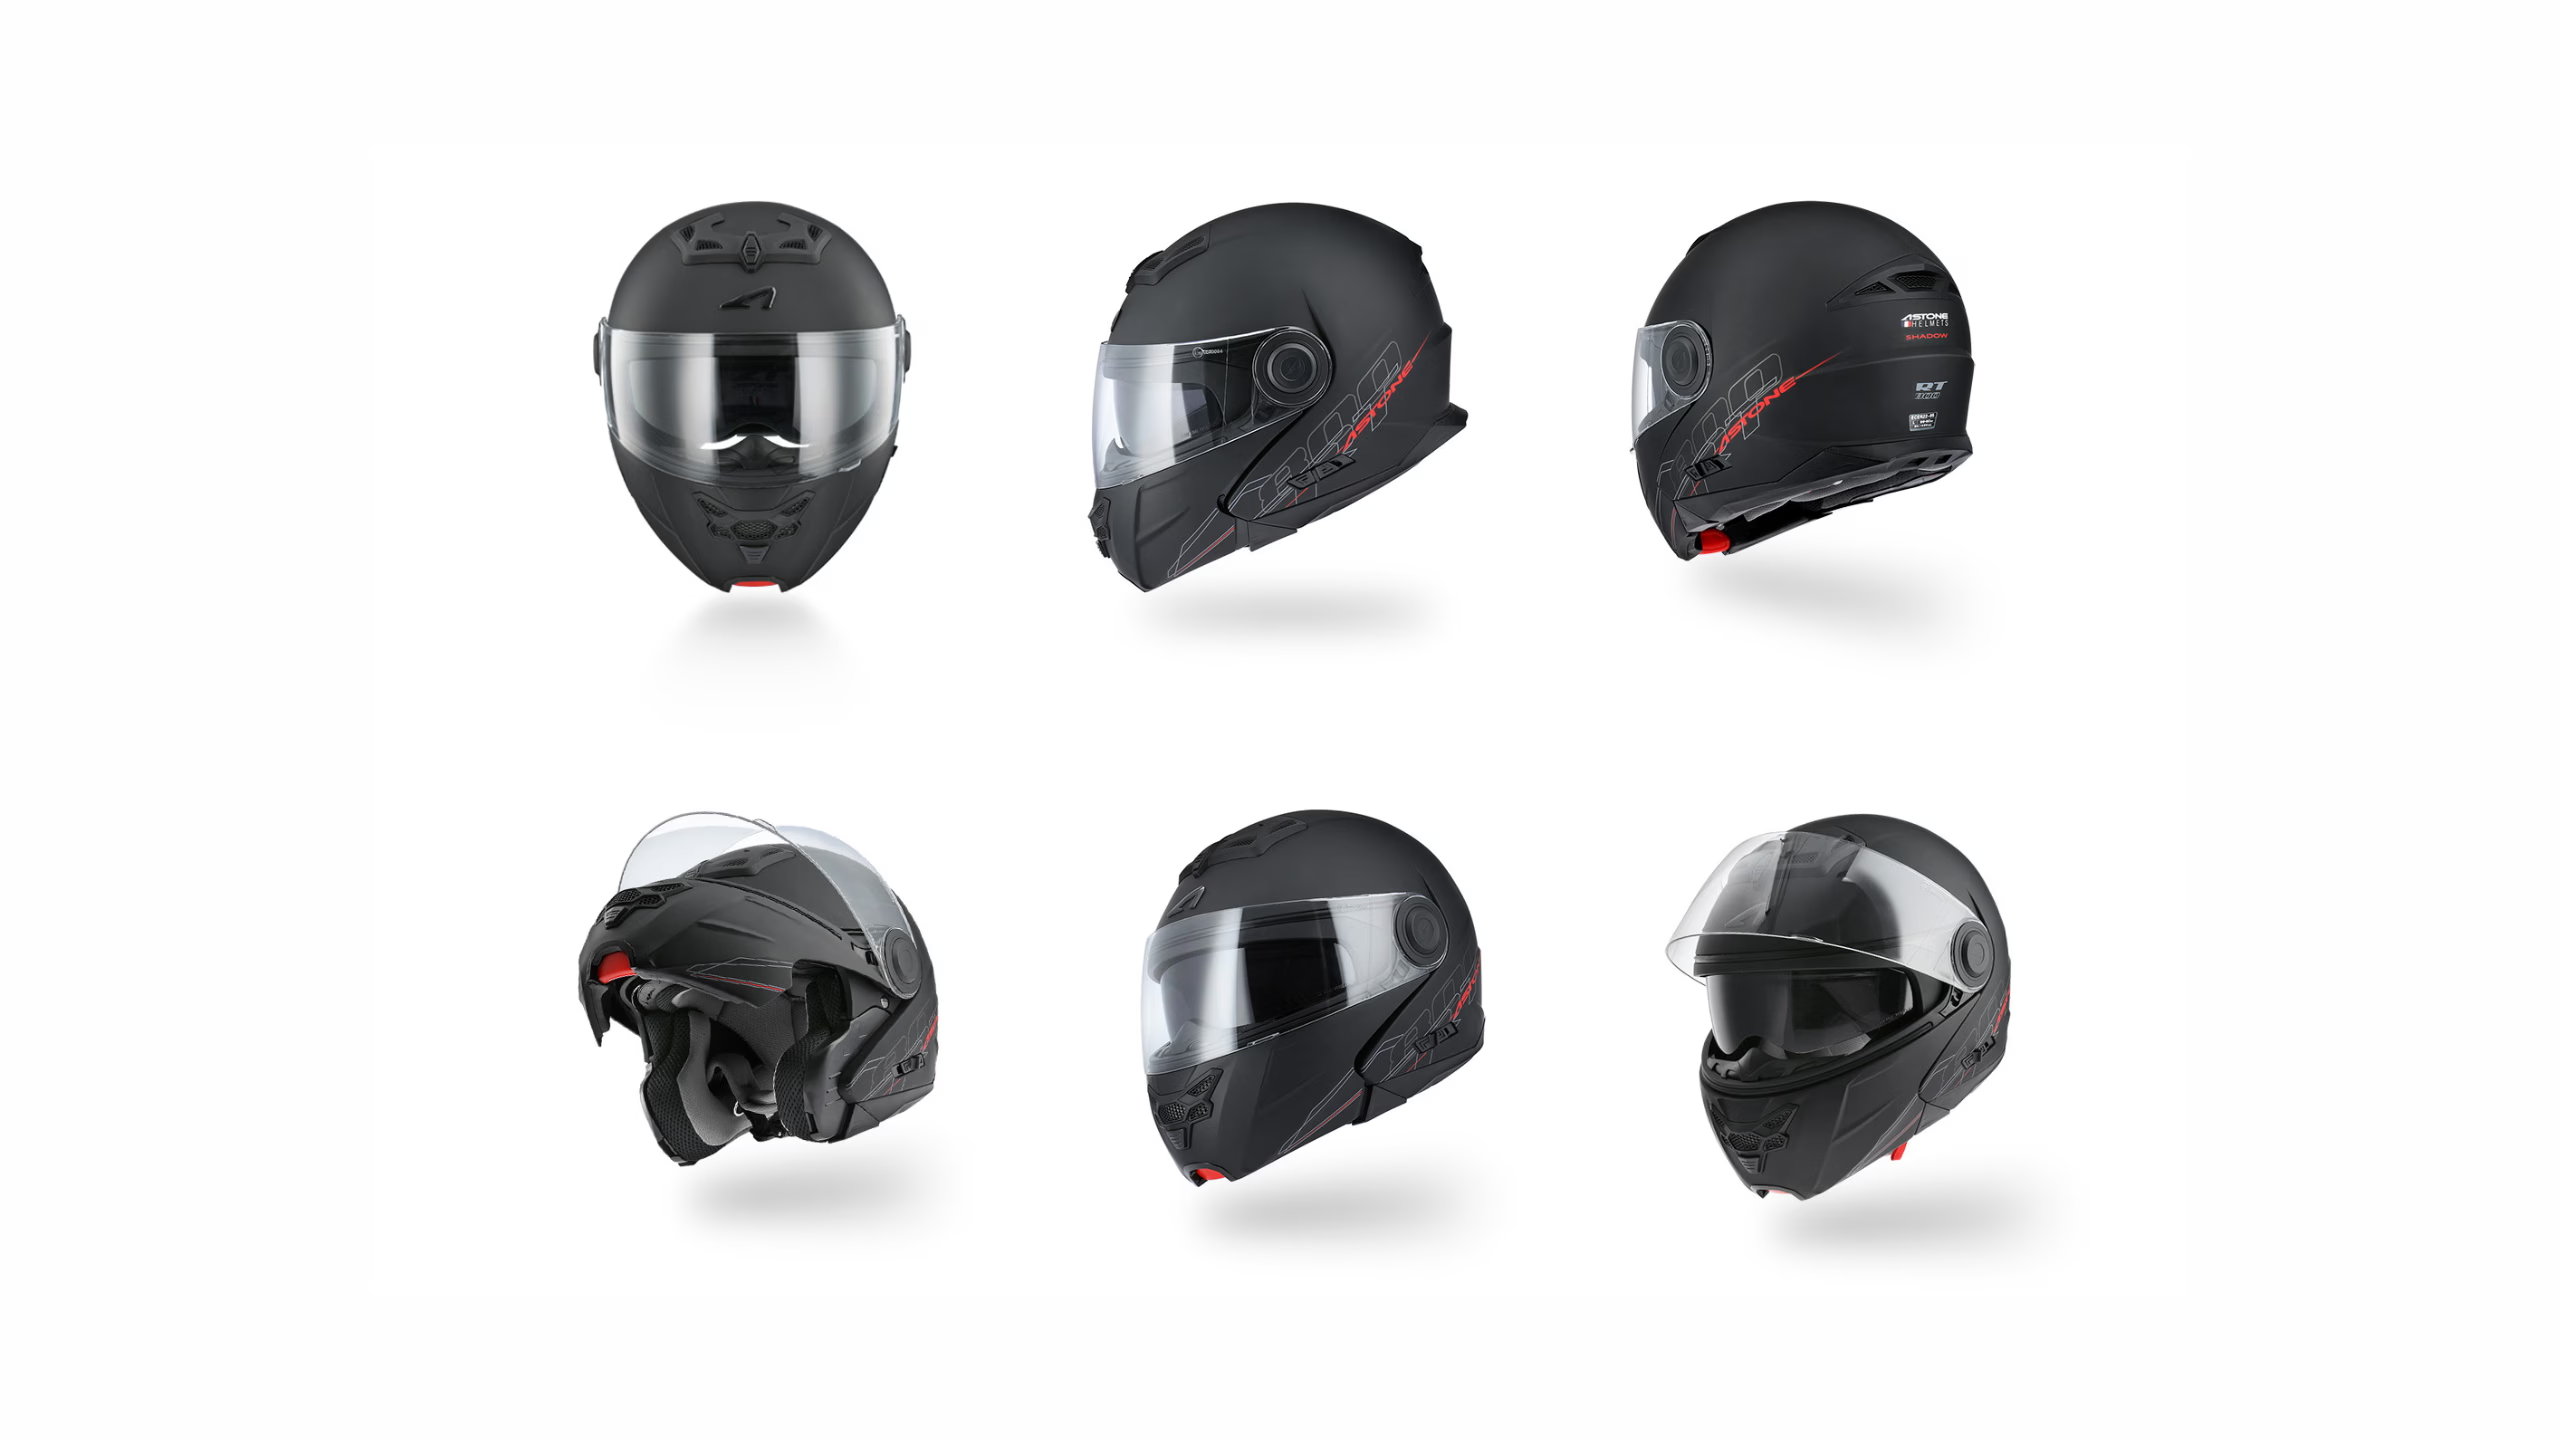
The main image should be high quality and represent faithfully the product sold. It is also possible to add up to eight alternative images showing the product from various angles.
How do I create a 360° animation internally?
Two solutions are available to sellers:
- Use external service providers : practical but expensive and less flexible.
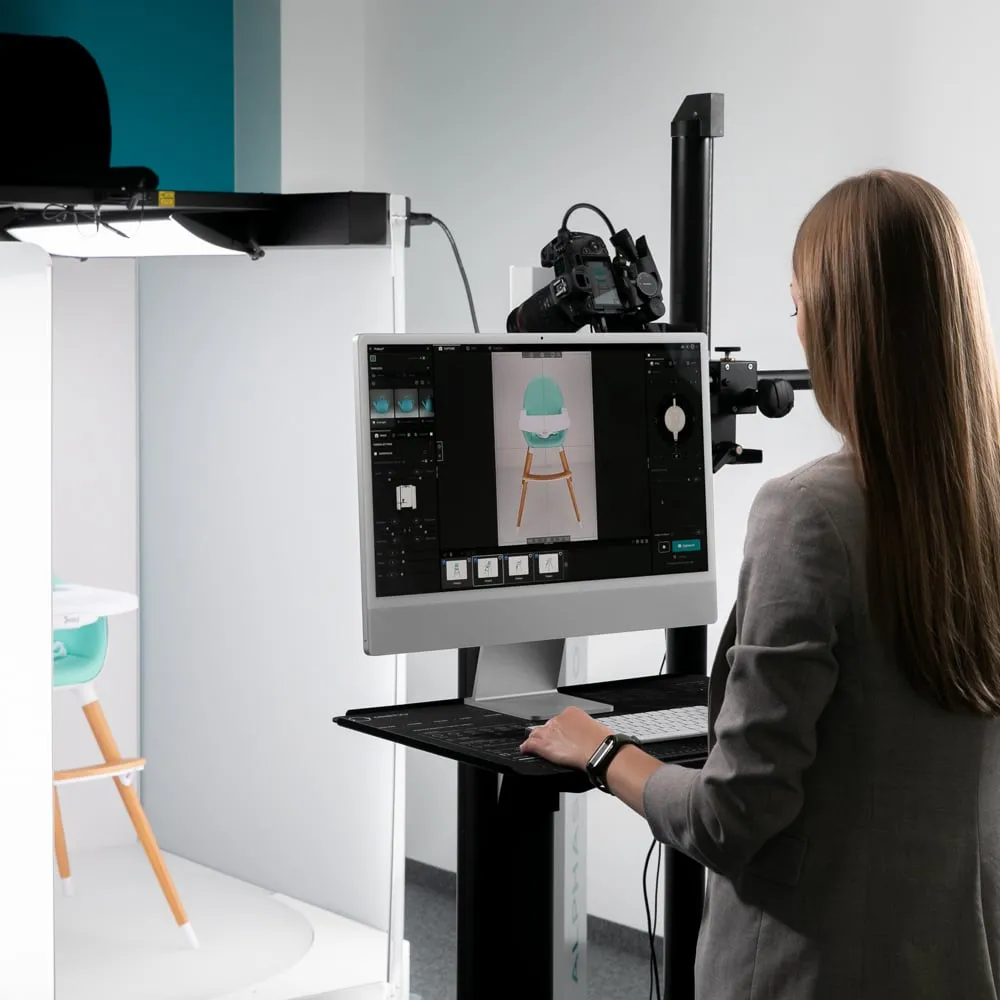
- Produce your own 360° visuals With a automated photo studio, guaranteeing speed of execution and total control of quality.
With an automated studio Orbitvu, the creation of animations at 360° becomes child's play :
- All-in-one system : Synchronized turntable, lighting and camera.
- Smart software : automated shooting and instant assembly.
- HTML5 format : universal compatibility on mobile and desktop.
What are the alternatives to 360° animations?
If the animation 360° is not possible, other options allow highlight a product :
- Multi-angle photography : capture multiple views from different angles (front, back, 3/4, top, etc).
- Product video : very effective for Social networks, although less interactive What an animation HTML5.
Why Orbitvu?
The solutions Orbitvu allow the Amazon sellers and e-retailers of easily create visuals in accordance with e-commerce standards. They offer:
- Advanced automation For a maximum time savings,
- Optimal image quality, in accordance with marketplace requirements,
- An intuitive all-in-one solution, usable without technical skills.
Conclusion: An undeniable asset for your sales
Adopt 360° animation, it is Bringing your products to life and offer your customers an immersive experience. More than just a visual, it's a powerful conversion tool. Whether via HTML5 animation, a multi-angle approach or A video, the objective remains the same: captivate attention and turn visitors into buyers.
Ready to boost your sales with compelling visuals? Find out how Orbitvu can accompany you in the creation of high quality visual content, adapted to requirements of the most demanding marketplaces and e-retailers.


