How do I use the Orbitvu AI Assistant to create 360° animations?
🔄 Create a 360° animation with Orbitvu AI
Alphashot Pro G2 AI
Orbitvu Station software, a lipstick and cotton gloves
3 minutes
In e-commerce and digital marketing, 360° animations have become an essential asset to present products from all angles and facilitate the purchase decision. 👛
Orbitvu product photography solutions facilitate your internal visual production thanks to automation and editing tools.
Let yourself be guided step by step and learn how to use theOrbitvu AI assistant ofthe new Alphashot Pro G2 photo studio to create captivating 360° animations. 🔄
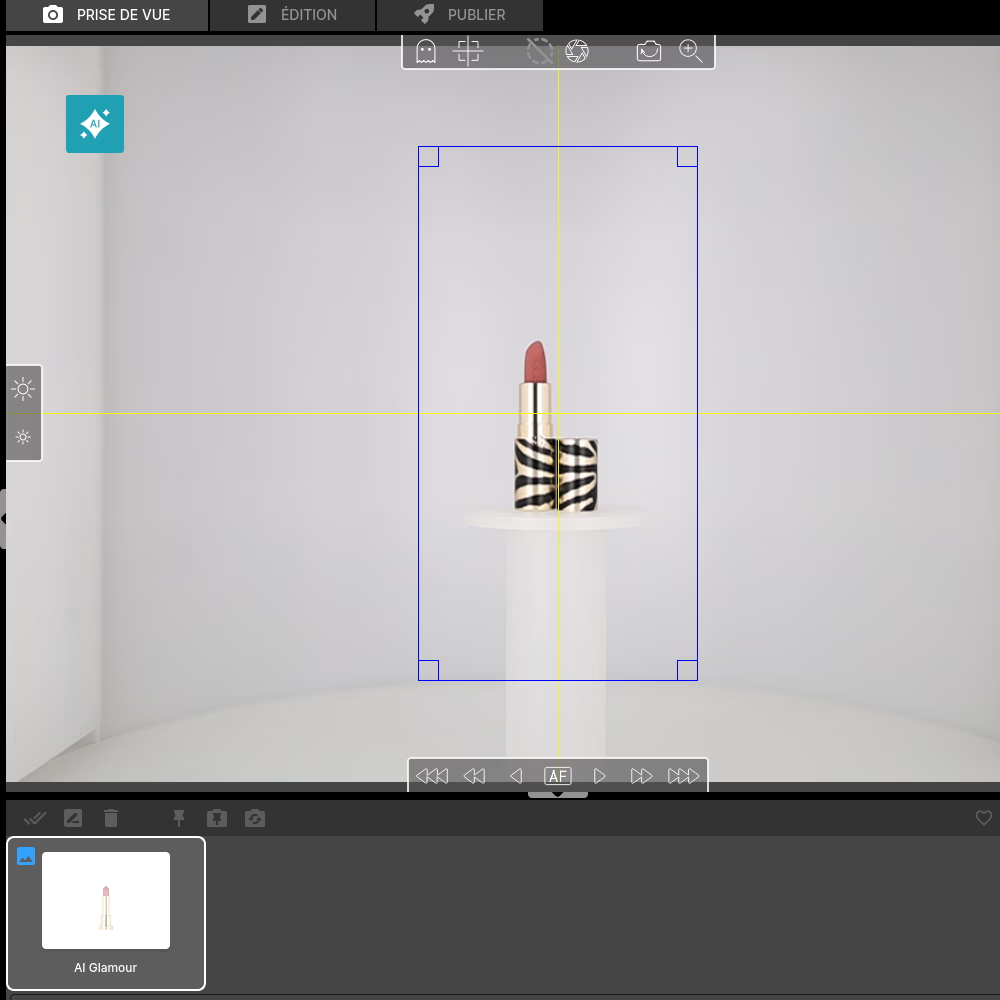
Position the lipstick
Place the lipstick in the exact center of the turntable. The studio has a integrated laser centering system to ensure accurate positioning, thus avoiding rotation errors that could affect the quality of the animation. 📍
You can also help yourself with center point of the plateau. Finally, check on your screen that the product is in the center and well oriented in front of the camera. 💻
✨ Tip : Make sure the lipstick is stable. If you are working on a small or cylindrical product that may move, use a piece of adhesive tape or clear double-sided tape.

Adjusting the light with AI
The Orbitvu AI Assistant comes with a powerful feature to suggest the best light configurations depending on the type of product. 💄
Once your lipstick is positioned, click on the “AI” icon and let the AI Assistant Scan the product and offer several adapted lighting options.
The AI will offer you 4 light templates different, choose the one that highlights your lipstick the most. For our animation we chose the Velvet template.

Make adjustments
While the AI Assistant suggests quality light settings, you can always fine-tune the settings to suit your specific needs. The software Orbitvu Station allows you to easily change the intensity or the angle of the 74 independent light sources that surround the product. 💡
✨ Tip : If your lipstick is metallic or reflective, reduce the intensity of the headlights and highlight the side lights for better edge definition.

Adjust the IQ Mask for the perfect clipping
Clipping is an essential element to obtain a professional result. This task is easy and automated thanks to the IQ Mask.
Activate the feature and check that the lipstick is completely black and the background very white. All the white part will be removed, make sure that the contours of your product are blackened, otherwise lower the light intensity.
✨ Tip : Take a photo to check the contours, then correct directly in the software if necessary.

Set up the 360° animation
Once adjustments are complete, select 360° mode in the Orbitvu Station interface. Then set the number of frames for the animation, usually, 24 to 36 shots offer ideal fluidity. 🔄
Then press the “Save” button and let the motorized turntable capture every angle accurately. 🎬
🎯 Thanks to this automated packshot approach, you gain in consistency, speed and visual impact. These interactive visuals reinforce engagement and promote conversion on your e-commerce product sheets, while valuing the user experience.

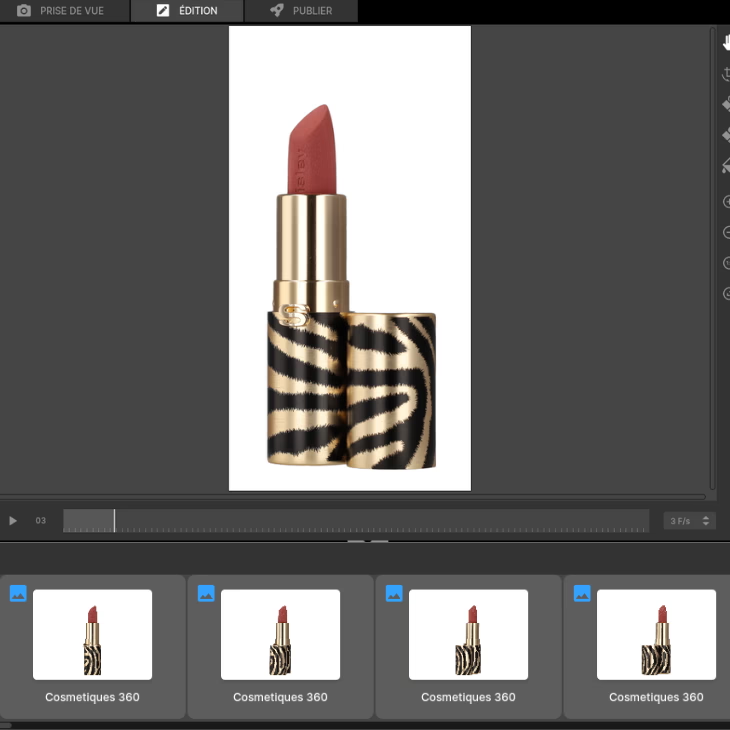
Image retouching
After the shooting session, move on to editing the image. The Orbitvu Station software allows you to make edits such as brightness, color, contrast... Adjust them according to your needs. 🎨
✨ Tip : For cosmetic products like lipstick, balanced contrast is essential to reflect true colors.

Exporting the animation
Once your edits are finalized, it's time to export the animation. Choose the HTML format and export your animation to the Orbitvu Sun cloud. 📤
This software will allow you to obtain a link or integration code. You will also be able to customize your animations, such as the color of the buttons, the introduction visual... and even to integrate a button to link to social networks for example.
Bonus : You can also export still images taken from your animation for additional use in your marketing campaigns.
Also discover how to enhance the texture of a lipstick through a packshot.

FAQS
Why talk to our experts?
- 20+ years of experience: Unparalleled expertise in photo automation
- 10,000+ installations: Proven solutions around the world
- Continuous innovation: The latest advances in automated photography
- Personalized advice: Recommendations adapted to your specific challenges
- Accelerate your visual production
- Optimize your photo workflow
- Maximize your return on investment
Fill out the form now to benefit from our unique expertise. Our team will contact you within 24 working hours.
