Shoes: the unmissable e-business sector, boosted with PackshotCreator
Shoe photography to put them online is feasible and even recommended internally. In France, the online market represented 9.2 billion euros in 2014. With an increase of more than 5% since 2010, it is a sector in full expansion.
The online shoe boom
It now has recent pure players (such as Zalando or Zappos) as well as physical stores now offering their own e-shops.
In fact, online sales represent 11% of shoe market by value ; the French are also among the largest European buyers just behind the United States: around 5.7 pairs are purchased per year, representing a portfolio of €330 per household every year.
Learn how PackshotCreator helps businesses of selling shoes online to optimize their e-commerce site and increase their sales...
In-house shoe photography: what visuals?
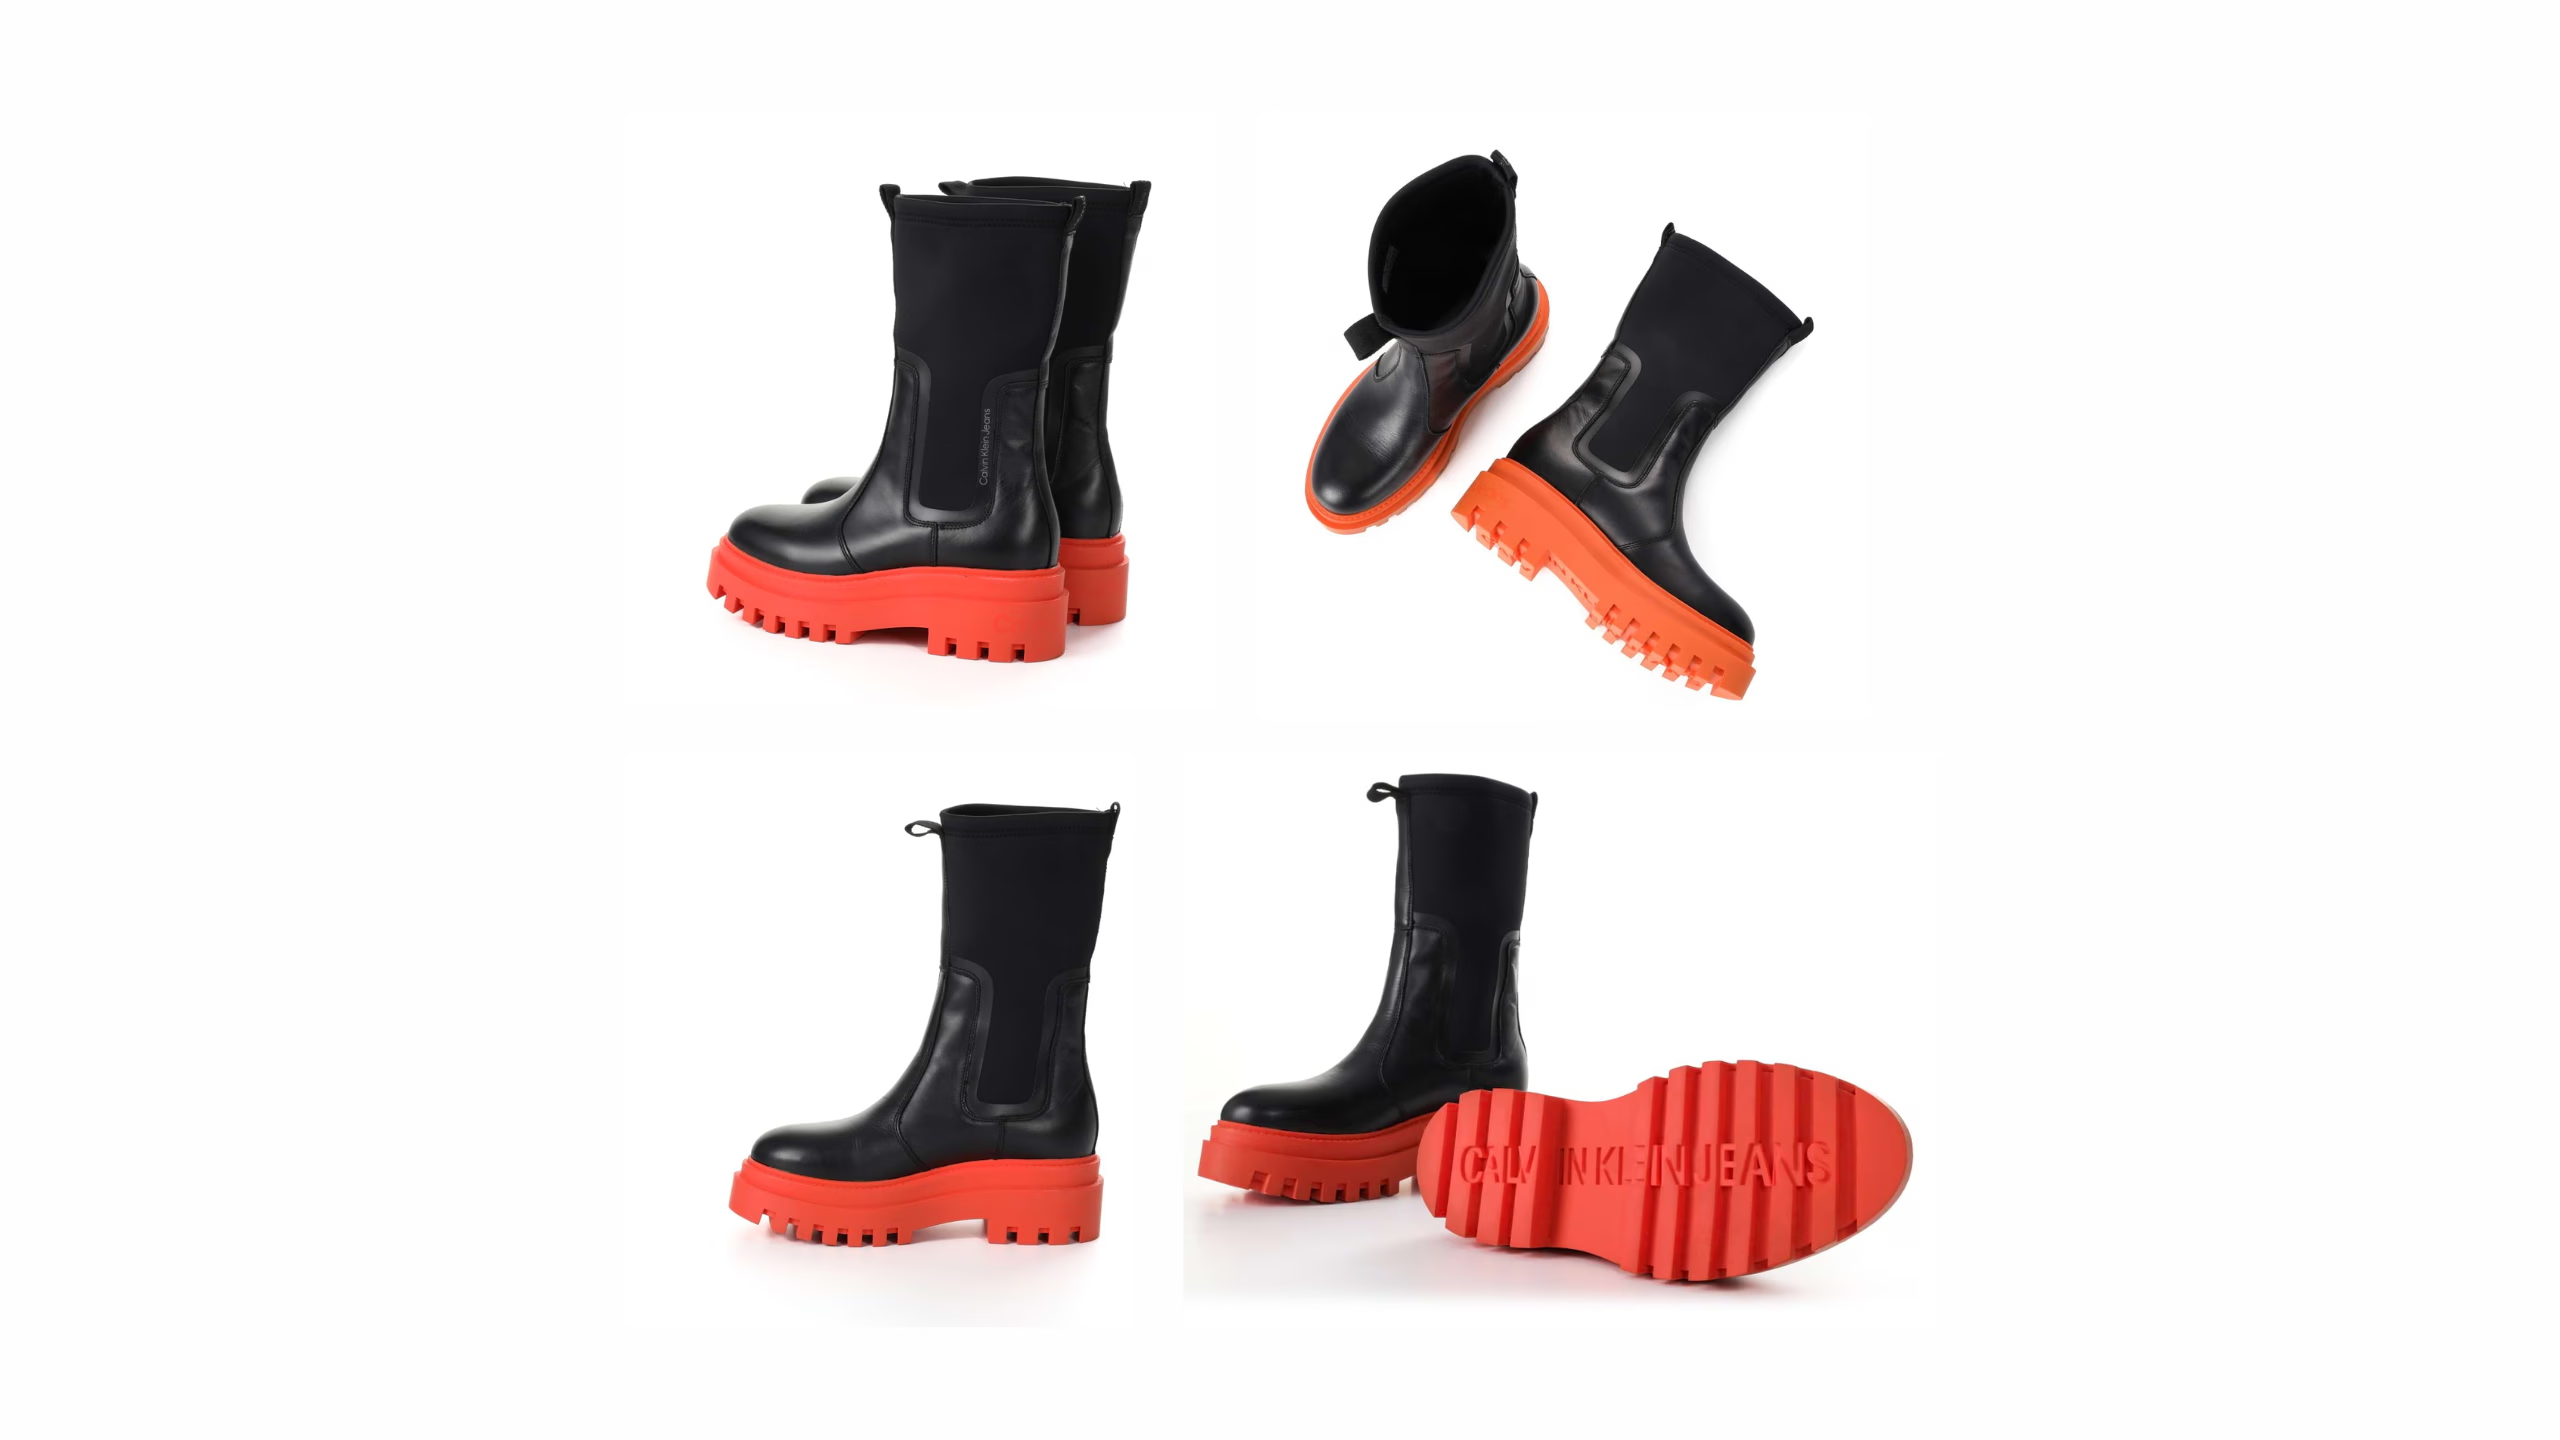
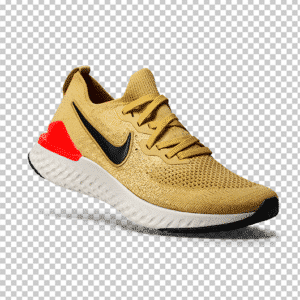
The apprehension of consumers about the problem of size, comfort, and Visual of the shoe is less of a problem today. Online e-retailers have indeed found the answer. They offer the maximum amount of information. Those that are impossible to reproduce in stores and also practical services. It goes from 2D visuals really detailed, with multi-angle photos of shoes, to 360° views and 3D product animations, or even interactive interfaces to guide the customer in choosing sizes. They also offer ultra-fast delivery and return of shoes (free for some sites)... All in order to facilitate the purchase process.
Quality visuals: an essential step for online footwear
Quality product visuals being the essential step in giving online shoppers even more reasons to buy online. But also reasons to display photos with a faithful and ultra-realistic rendering of colors and materials. Offering product views from all angles is now becoming almost mandatory for e-retailers.
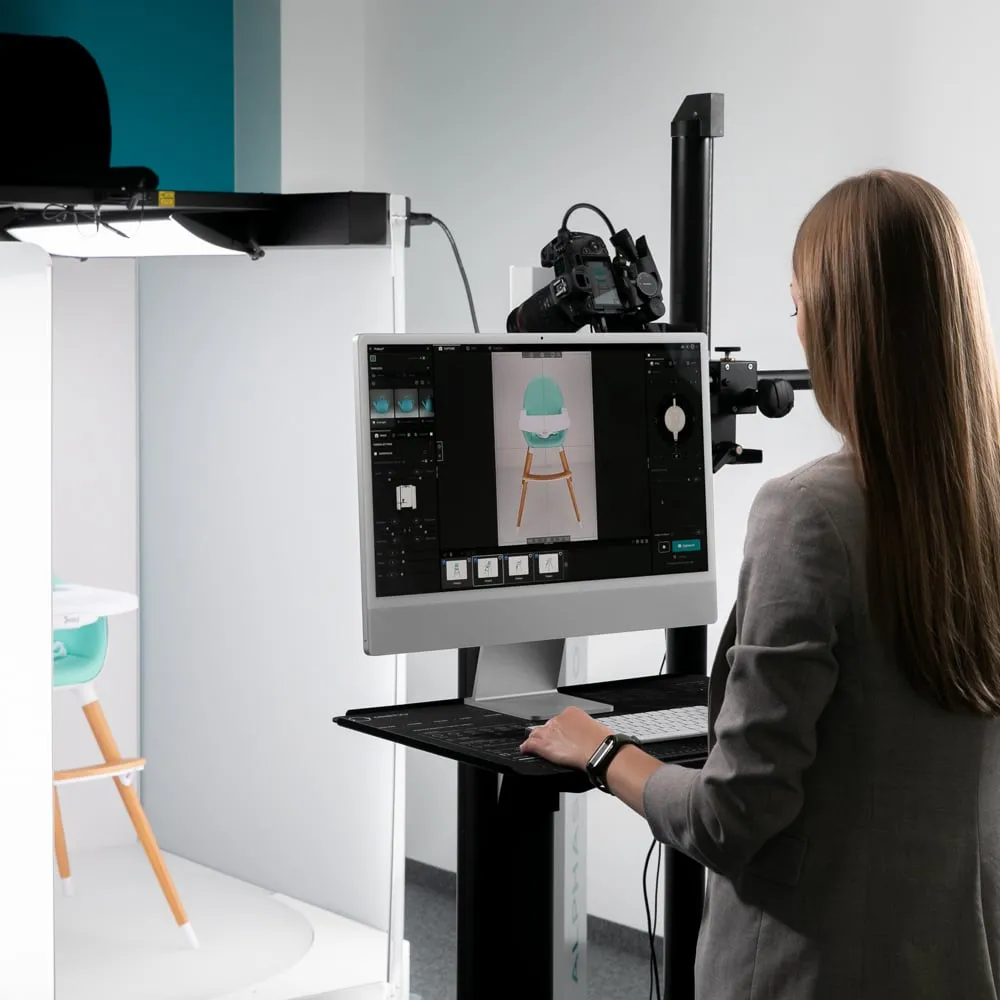
That is the reason why PackshotCreator offers businesses solutions for creating photos of innovative products and super easy to use. It only takes less than five minutes! Five minutes between the time the user places their product in the system and gets a view of their product from multiple angles. The user can create multiple photos just as easily multi-angles or a view Full interactive 360°. In addition, the software can automatically crop a product in a few seconds.
Shoe photography internally, the objective: to make faster and more profitable the Product photo shooting for a website. The e-merchant therefore makes visitors benefit from increasingly qualitative and complete visuals.


