How do I make a shoe video?
🎥 360° video of shoes in the photo studio
An Orbitvu 360 photo studio and someone on your team
Orbitvu Station software and a pair of shoes
3 minutes
Make a 360° video of shoes in an automated photo studio is an effective alternative to 360° animation in HTML5 format.🎥 This video format highlights your fashion products from all angles, with a smooth rendering, ready to be integrated into your e-commerce campaigns, your product sheets or on the social networks.
Unlike 360° animation, video does not allow interaction, but it is easier to publish and quickly captures attention in news feeds. 📊 It is an excellent way to boost engagement and present your shoes in a dynamic and professional way.
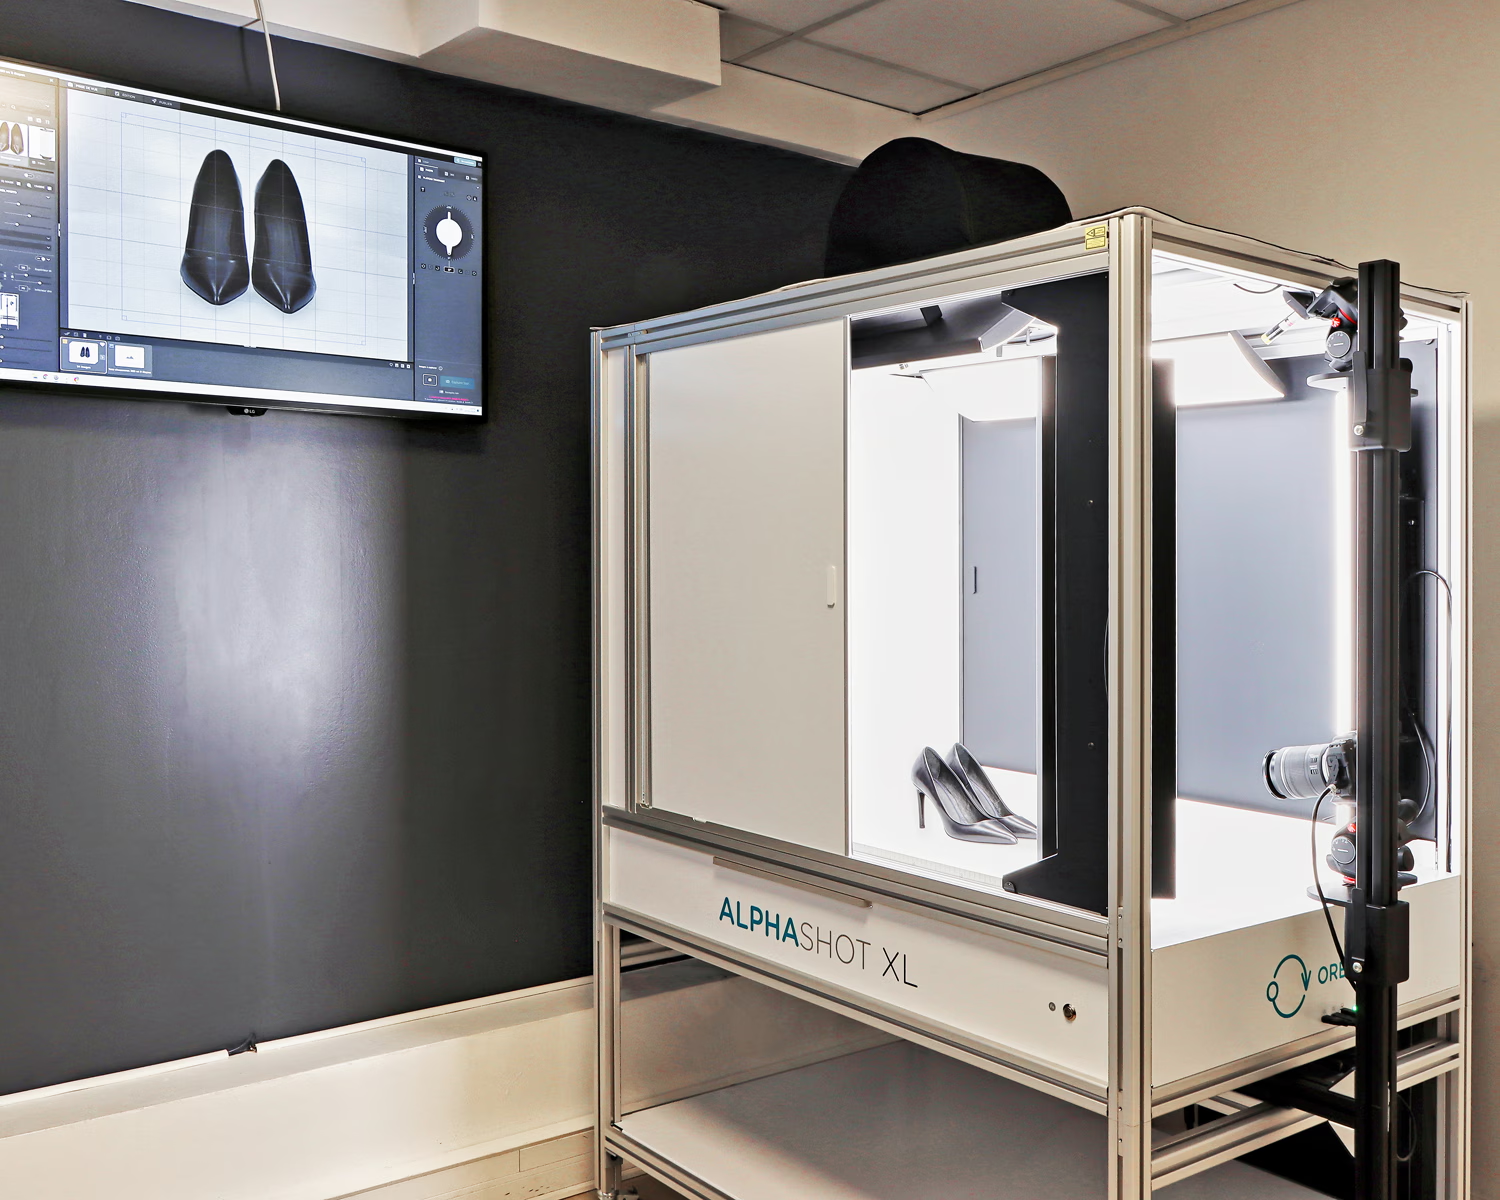
Of the preparation of the product To the video capture, going through the light adjustment And the Turntable configuration, this tutorial takes you step by step with the Alphashot XL Photo Studio. 👠

Prepare your pair of pumps before putting them in the studio
On this example of heeled pumps, use a dusting spray or a rag to remove any dust particles that would be visible on the final video.🧺
Also, don't hesitate to wear cotton gloves so as not to leave marks on your shoes during the various manipulations.🧤

Place, position, and center the pair of shoes
Center your pair of shoes in the photo studio using the integrated laser and which is activated by clicking on the software's laser button Orbitvu Station. 🎯
Check on your LiveView screen that your shoes are centered.💻

Create a template
Once your pumps are in position, memorize their position with a Phantom image.👻
This image will serve as a position memory for future pairs of similar shoes.
Save this ghost image in a profile, you can reuse later. 📂
Stored in the software library, this profile will be used to record all detailed settings in the next steps of this tutorial. ⚙

Get your camera ready to shoot your video
Set, from the software interface:
Les ISO over a range between 100 and 400, The opening between f/8 and f/16 the speed min 1/50. 📷
Create a adjustment profile for your pumps video. 📂

Create the ideal lighting ambiance for the 360 video of the pumps
To get the desired image, adjust the intensity of each lighting source in the studio from 1 to 100% separately. 💡
See the results of the adjustments on your shoes live on the screen.💻
Orbitvu studios are naturally equipped with light spots that simulate daylight, but you can also customize them and get a warmer or colder light depending on the desired result.⚖️

The engine is running... Action! Your 360 shoe video is on
You are ready! Click on ”Registration“, the set rotates completely while the camera films your shoes... 🎬
And it's in the box!

Editing and retouching
Now let's move on to the editing stage. 🎨
Now you can edit your video, increase contrast or brightness, adjust colors to make them even, sharpen sharpness, and more.
A very important function is the brightening of the background to obtain a uniform white.
Go through the levels and brighten the background until it turns completely red. That means your background is 100% white.

Creating the profile
Save your camera settings and studio lighting settings on a single profile:
Speed and direction of rotation of the turntable, whether or not to remove the audio and the choice of the length of time to play the video. ⚙

Register your work
Finalize your e-commerce product video by choosing the recording format: MP4 or MOV, depending on your broadcasting needs. In less than 3 minutes, your 360° visual content is ready for integration on your product sheets, social campaigns or marketplaces. Thanks to saved profiles, you can produce videos on the go, without losing quality or time.
By reusing the profiles created, the production time will be practically Divided by two.⌚️
You can also use your video to make a 360° animation or a GIF. Everything happens during export.
Also discover our Tutorial on multi-angle shoe photography. 👠

FAQS
Why talk to our experts?
- 20+ years of experience: Unparalleled expertise in photo automation
- 10,000+ installations: Proven solutions around the world
- Continuous innovation: The latest advances in automated photography
- Personalized advice: Recommendations adapted to your specific challenges
- Accelerate your visual production
- Optimize your photo workflow
- Maximize your return on investment
Fill out the form now to benefit from our unique expertise. Our team will contact you within 24 working hours.
