How do you get a clear, bottomless jewelry photo?
Get sharp, cropped jewelry photos with Superfocus and IQ Mask. Discover our 6-step guide to professional results!

Macro lenses and white backgrounds are the most used tools in jewelry photography.
Since most jewelry is small, the use of a macro lens will allow you to transcribe all the small details of your rooms into the image. At the same time, the white background will help highlight their exclusive aspects such as colors, sparkles, and patterns, which will make your jewelry stand out. 💍
However, when shooting items with a macro lens, it's more likely that some parts of the jewelry are in focus and others out of focus.
Plus, the reflective properties of your rooms will easily absorb light when you're trying to achieve a pure white background. 💎
This tutorial will show you How to avoid these two problems when photographing your product with a stack of autofocus (Superfocus) and a background removal (IQ Mask) through the Orbitvu Station software for Orbitvu Photo Studios.
Discover our detailed tutorial on focus stacking.
Create completely clear jewelry photographs on a transparent background in 6 steps:
For a good start
Before placing and positioning your jewelry in the studio, make sure it is sparkling clean. ✨
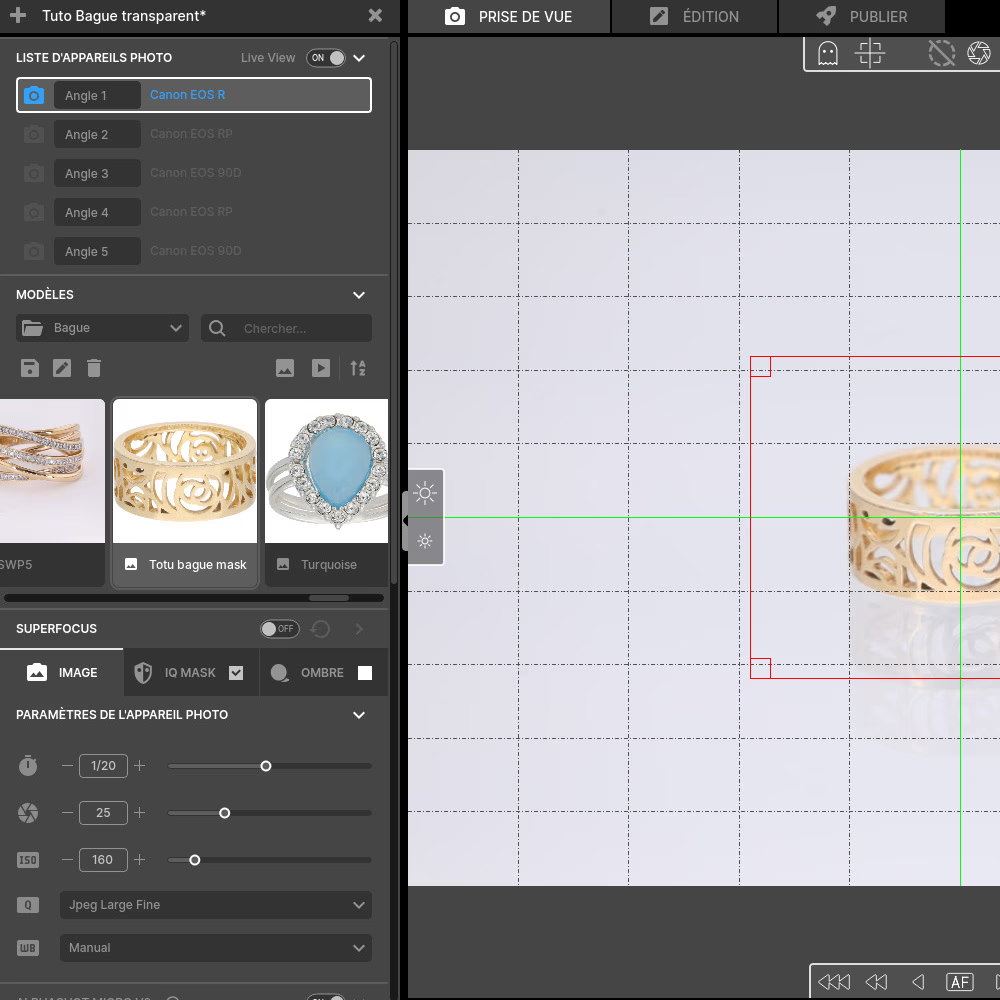
For positioning, use as a coordinate system the central point of the plateau and check the centering through your screen with LiveView.💻
When your jewelry is well positioned, select 2D mode, then shooting modes Superfocus (Focus Stacking) and IQ Mask on the software interface.
These features will make you save a lot of time compared to manual focus stacking.
Choosing the right camera and light settings
Change your camera settings by choosing:
📷 One Grand opening And a ISO value Included between 100 and 500 for a better visual effect.
⚡ Adjust the shutter speed depending on the brightness.
👁 Opt for an opening of diaphragm located between f/16 and f/22, depending on the piece of jewelry or stone you are photographing.
A high f/22 aperture value will allow you to obtain a greater depth of field, better sharpness and more accurate reproduction of details.
In fact, by choosing A small value with an f/11 aperture, you focus on a small area of your jewelry, which Causes blur on the other parts of the image.
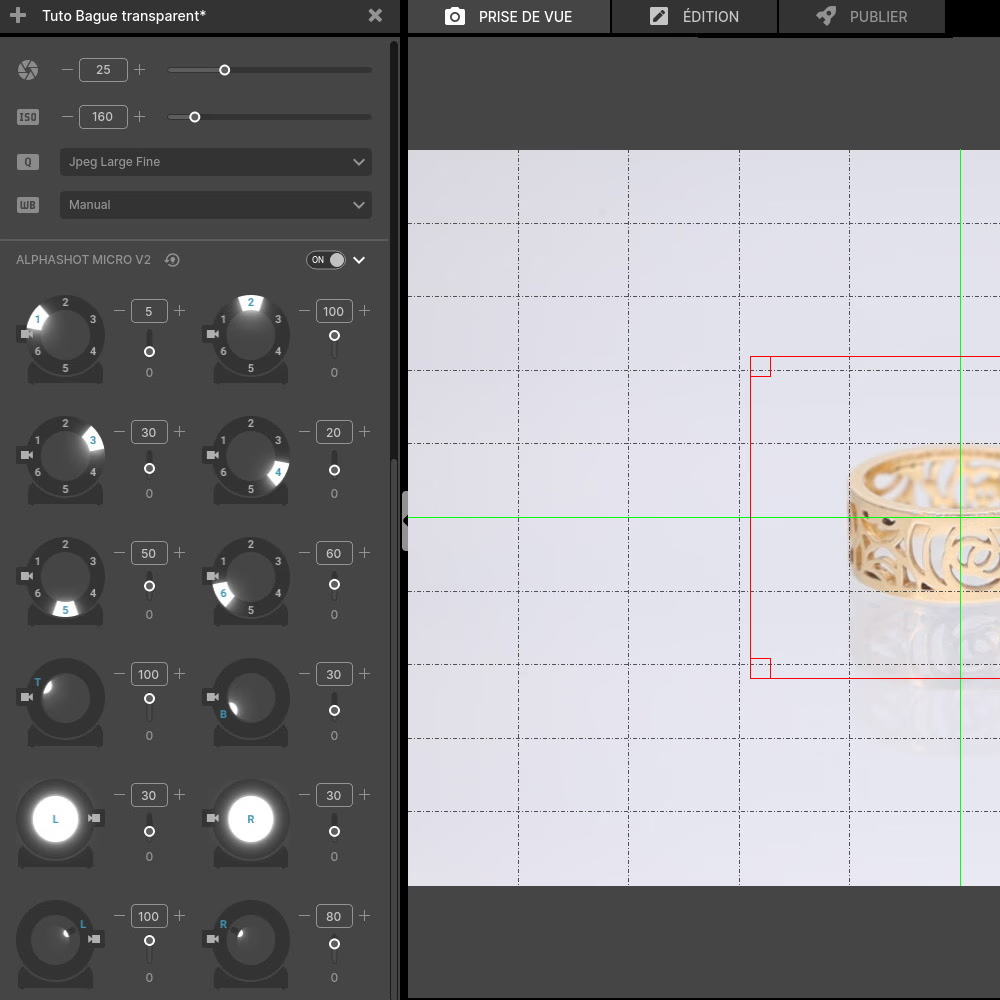
📂 The Orbitvu Station software offers you ready-to-use light adjustment templates. Feel free to explore them: they can save you time if you find them suited to your needs, or simply inspire you with new ideas.
✨ Tip: For silver jewelry, leave a dark background.
Discover our guide on the right equipment for jewelry photography.
Check out our tutorial on camera settings for jewelry photography.
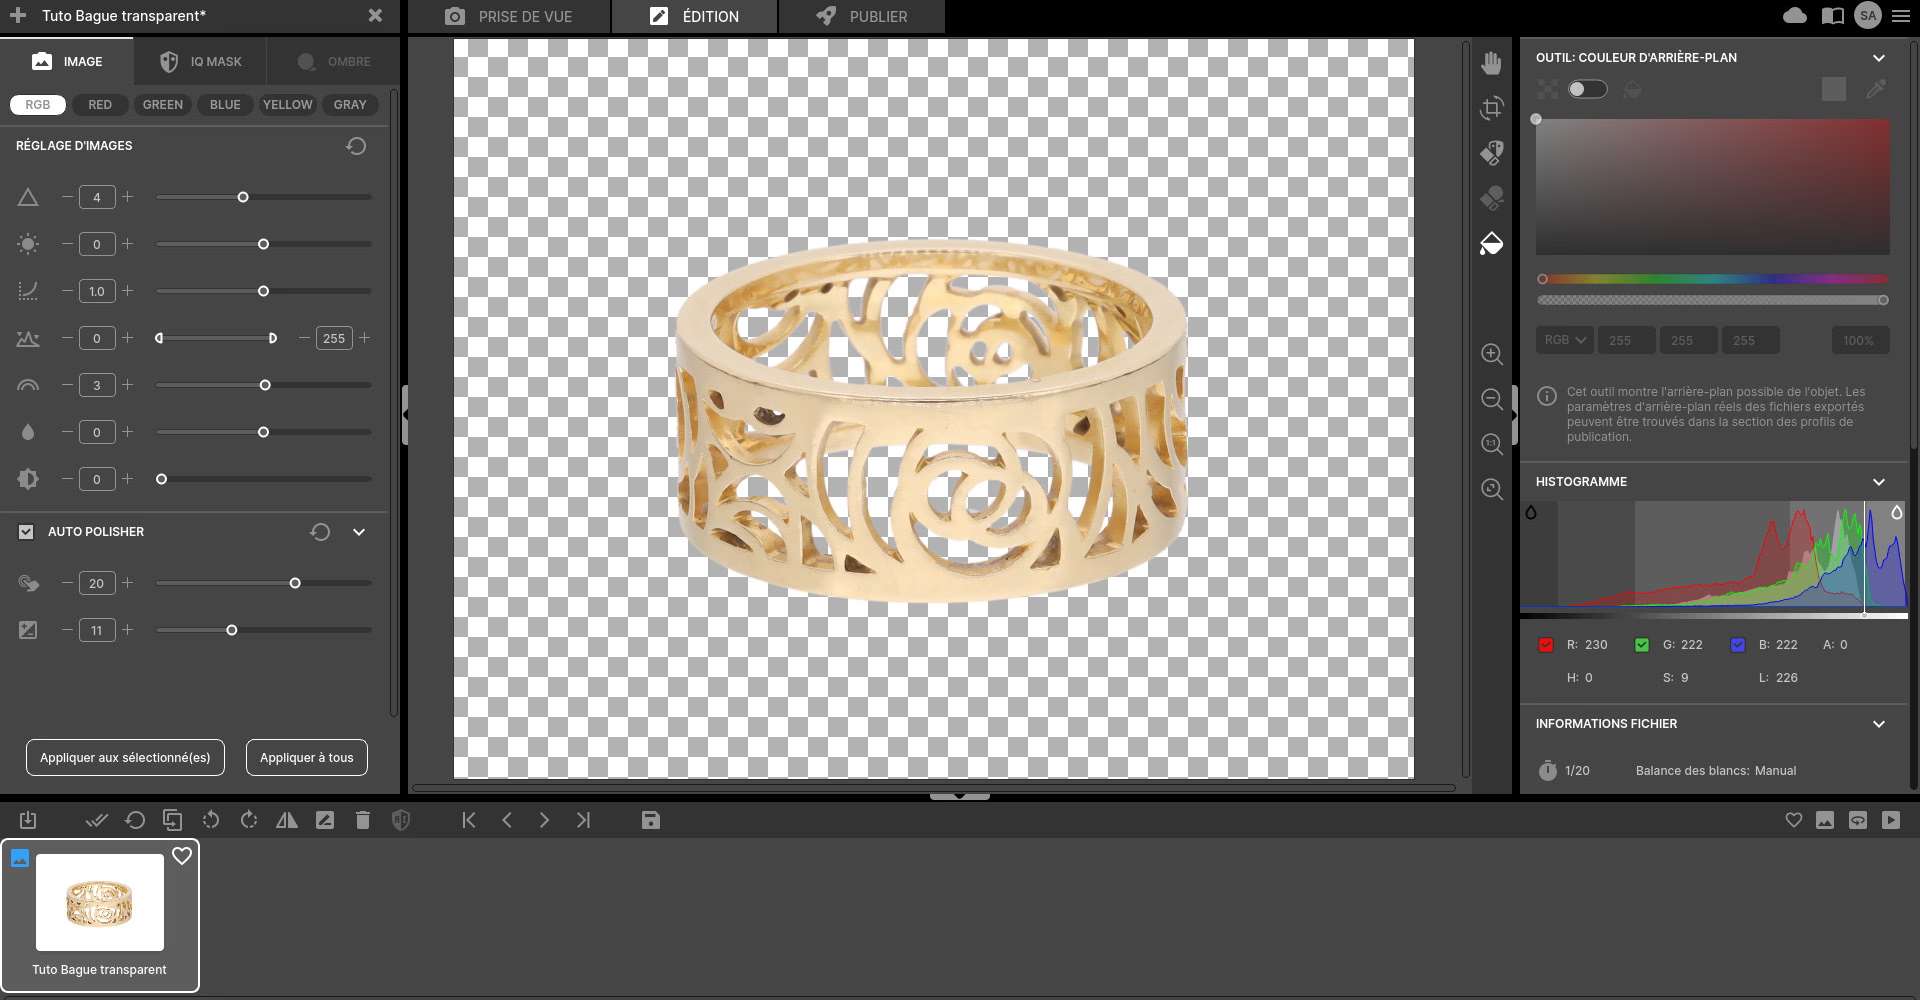
Adjust IQ Mask settings
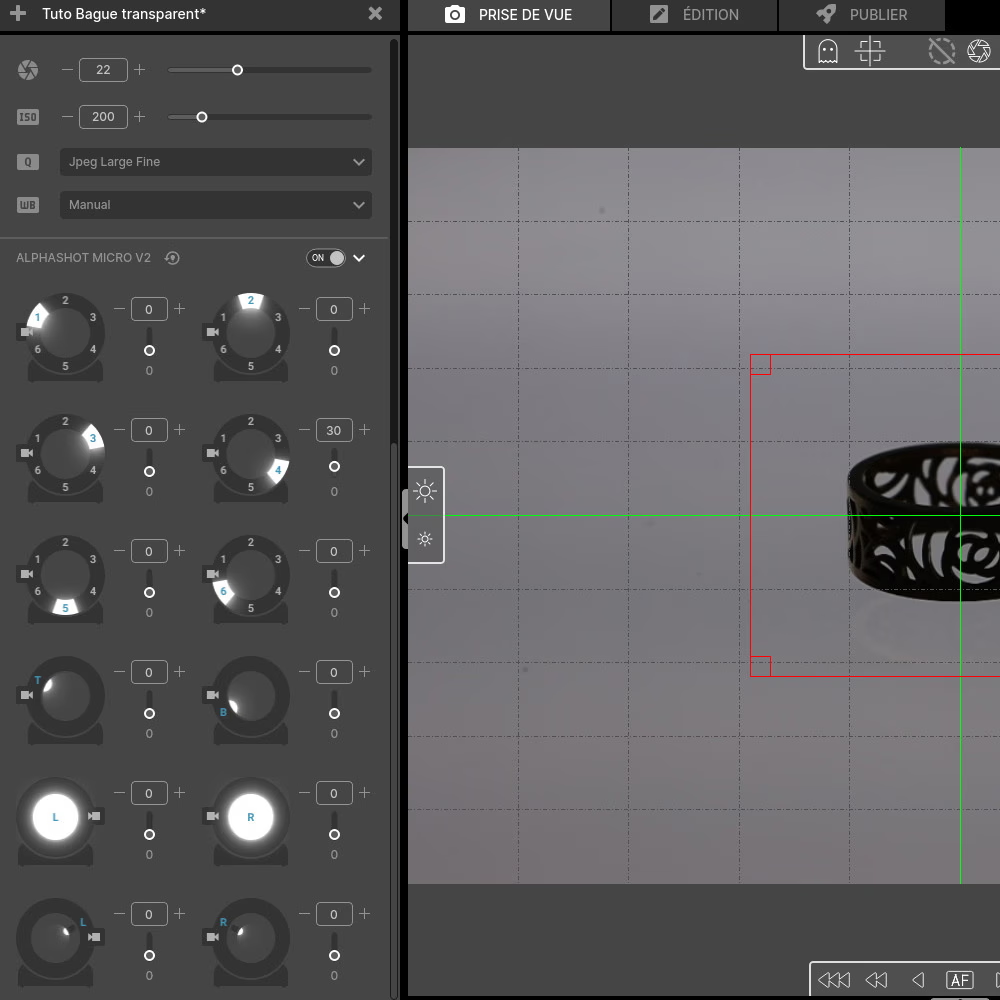
⚙️ In this step, you need to adjust the mask on your jewelry photo in the settings of IQ Mask.
Using the sliders on the left and right, adjust the opacity of the transparent mask, knowing that the white part of the photo will be removed to make room for transparency.
📂 Once the mask fits perfectly, save the profile of the mask in order to be able to apply it to other products of the same type.
Don't worry, changes in light intensity will only be taken into account on the IQ Mask option.
The advantage of Orbitvu is The natural shade products. Our software allows you to crop the products while maintaining the natural shade of the photo. If you want to apply it, go to the IQ Mask settings.
✅ Now everything is ready. Before clicking on “Capture everything”, check that you have done the fine-tuning.
First step: Superfocus
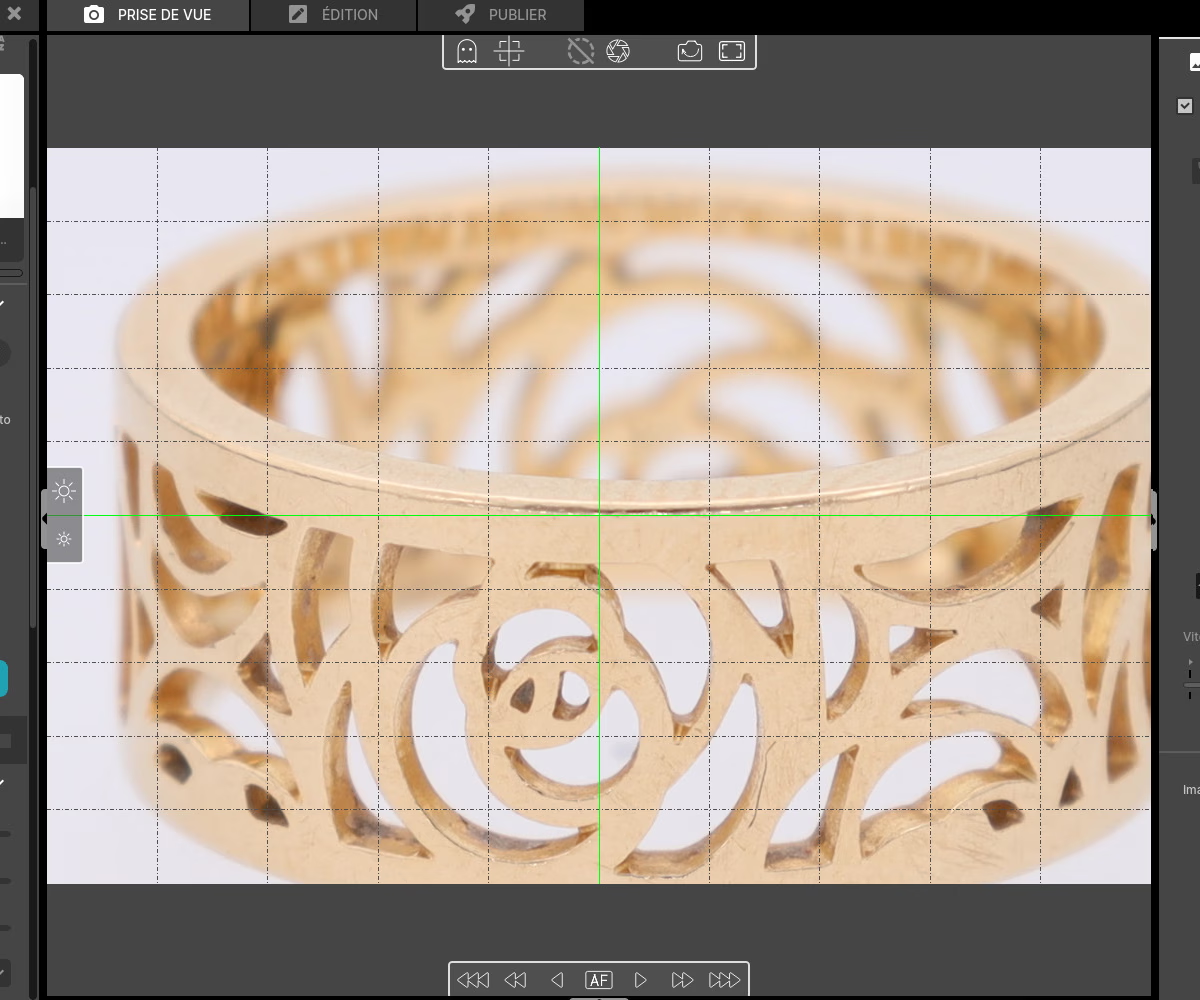
🔍 Select number of photos required for Superfocus by adjusting the zoom to Define net areas on the front and back of the product.
💍 This will allow you to capture all the details of the jewel with optimal depth of field. You can choose to increase or decrease the number of shots based on the complexity of the product And of The depth that you want to get.
📷 Start the sequence by zooming in and doing the first focus on the front part of the ring, i.e. The first plan.
This will allow you to enter all precise details of the areas closest to the objective. Then repeat this step with the back part of the ring, i.e. The background.
✨ Tip: With a high aperture value, you'll have more photos to take than with a low aperture value.
Automatic stacking
🎬Click on “Capture everything”, the software takes the selected number of photos and automatically combines them into a single photo where the product is completely clear.
Click “Next” and a new window will appear.
Result: a completely clear photo of jewelry on a transparent background
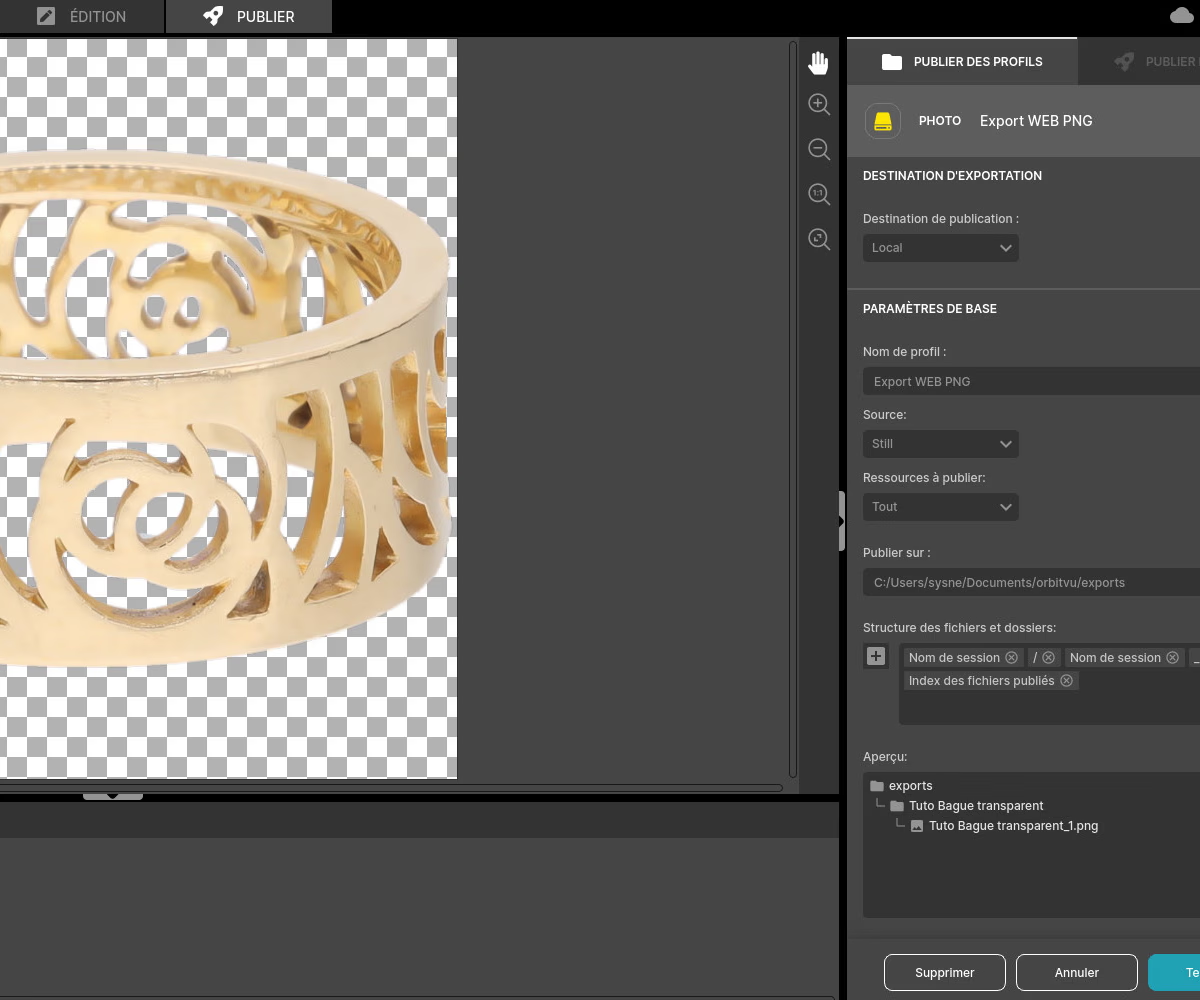
💍 Here is the final result : a completely clear photo of your jewelry on a transparent background. All of this, done in 3 minutes.
📤 Save your photo in format JPG and a white background will be automatically applied. To keep the transparent background, choose export PNG.
Frequently asked questions
How long does it take to take a completely clear and cropped jewelry photo?
How can this shooting system improve the profitability of my business?
What is the average learning curve to master the tool?
What sets the Alphashot Micro V2 apart from other traditional photo studios?
Why use product photos with a transparent background?
Need personalized guidance?
Our PackshotCreator experts are available to help optimize your product photography workflow.
Contact us