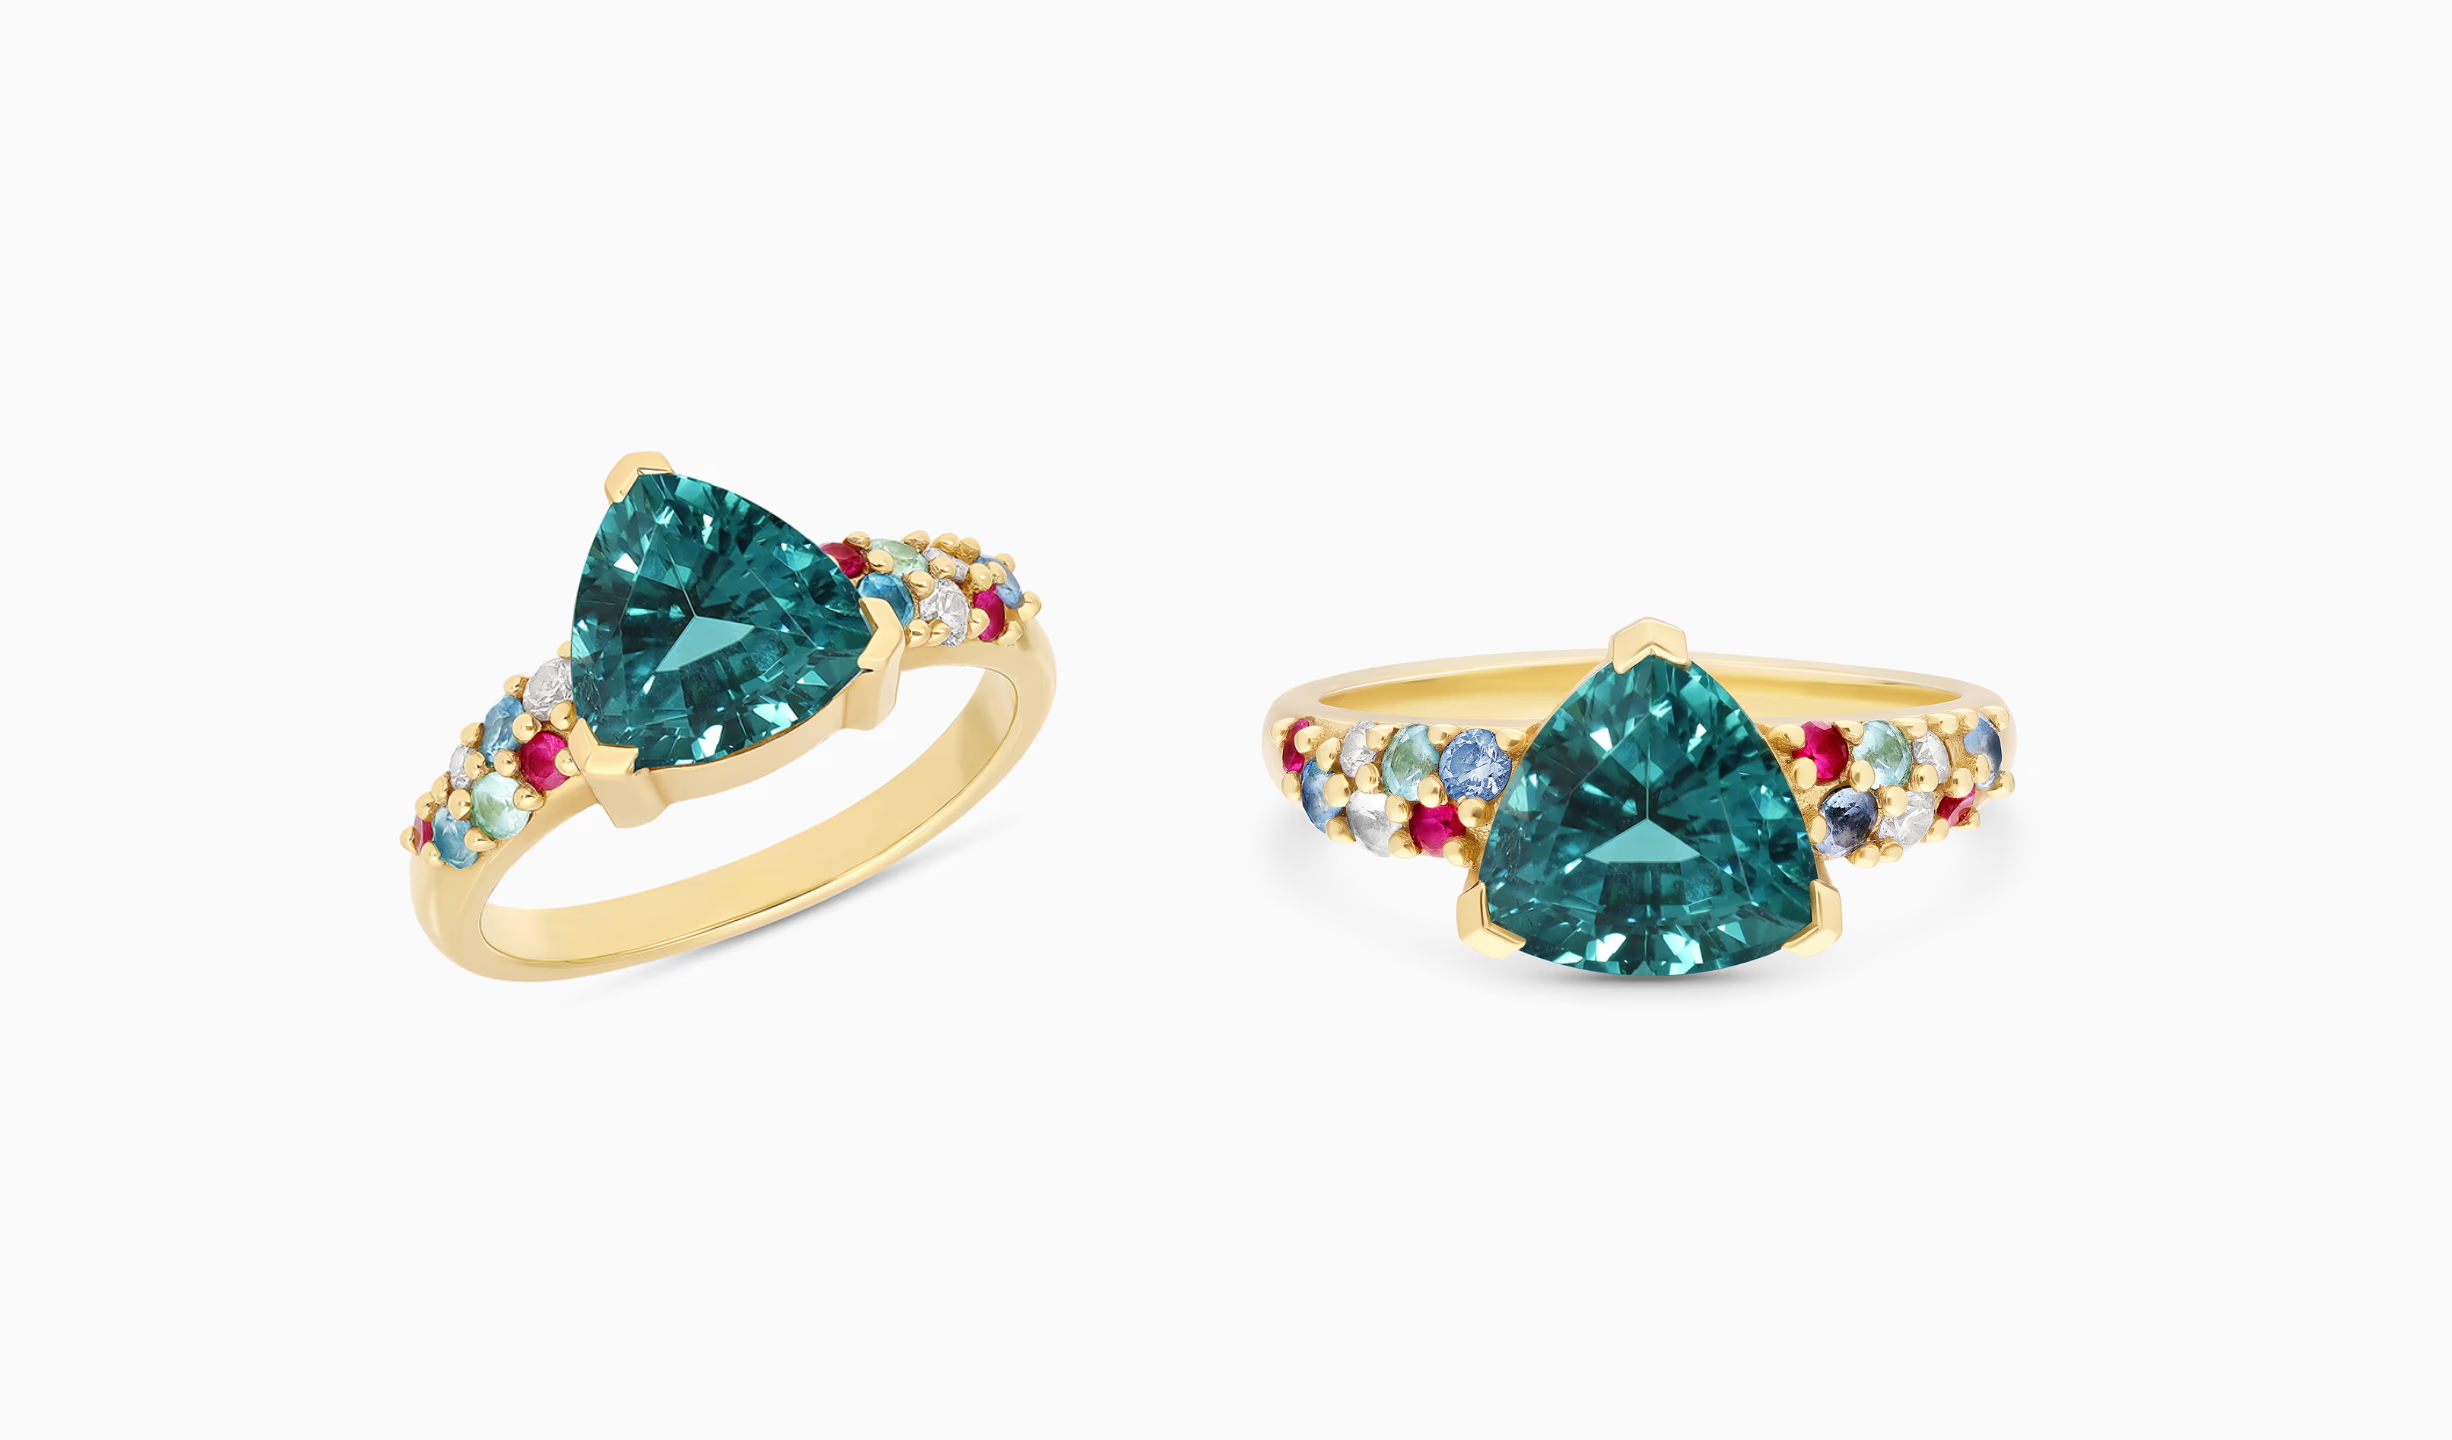
Photographing a ring represents a considerable challenge For the professionals in the jewelry sector. Capture all particulars and reduce the time of retouching are daily challenges. Each piece of jewelry has unique characteristics which require special attention to reveal all their splendor. Les reflections of light, the brilliance of precious stones, and the finesse jewelry must be carefully highlighted to obtain perfect visuals.
But don't worry, Orbitvu has the solution! The photo studio Alphashot Micro Pro v2, is offering today a innovative and unique technology to maintain and photograph a ring with disconcerting ease. Thanks to Orbitvu, you can guarantee exceptional results that will highlight thesheen And the quality of your jewelry, thus captivating your customers and improving your online presence.
By following 8 simple and effective steps, you can capture pictures, videos and 360° animations of your jewelry thanks to the Orbitvu photography studio. This advanced equipment, driven by software, will allow you to Sublimate every detail of your creations with a unparalleled precision, while significantly reducing the time spent on post-production.
Alphashot Micro V2 video presentation
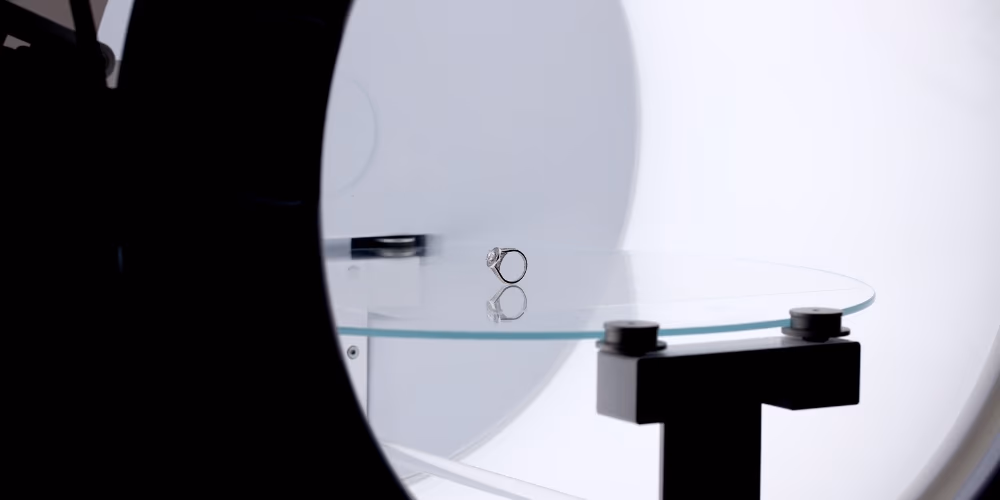
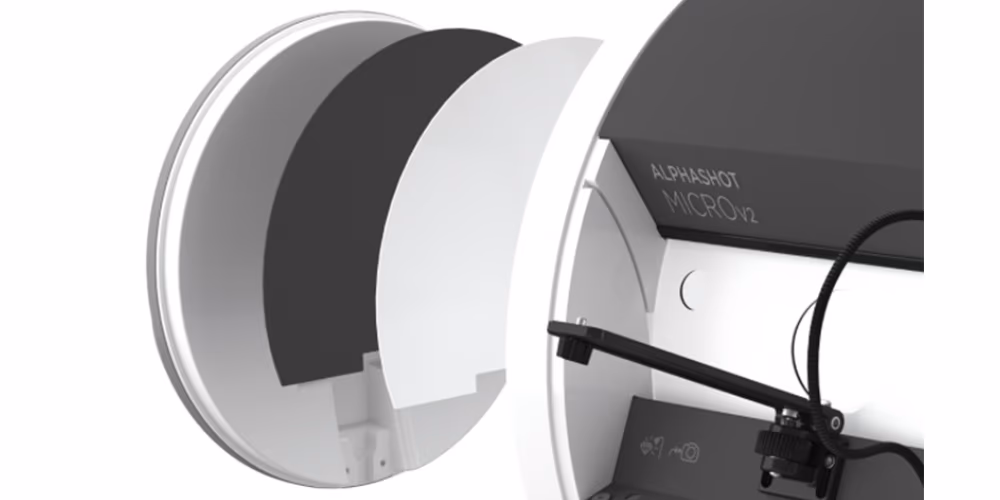
As shown in this demonstration video, theAlphashot Micro Version 2 is a device specially designed to photograph jewelry and luxury items. Here are its main characteristics:
- One cylindrical shape creating a closed environment where everything can be controlled step by step
- Adjustable camera position from horizontal to vertical with a protective button for safety
- Integrated light panels individually controllable via the software in terms ofloudness And of light
- Rotating platform at the base to create presentations at An angle, multi-angles, 360° or even videos
- The exclusive function Brilliance Light which combines two different configurations:
- One Spotlight for focused light on certain stones or diamonds
- Of LED Brilliance located above and below the camera
All of these features can be controlled at 100% from the software to get the best result from your jewelry, especially those containing precious stones. The camera mount allows the camera to be connected directly to the solution, ensuring the same exact position every time you take a shot.
The new design of the Alphashot Micro V2 is equipped with a USB Type-C port that makes it compatible with the latest mirrorless camera technology and allows for ultra-fast data transfer to the computer.
The combination of multiple light sources offers you the possibility of photographing different contrasts of the same product thanks to default presets integrated into the software. You can also create your own models that best fit the type of product you're shooting.
Another feature of the Orbitvu Station software synchronized with the Alphashot Micro V2 is the glare management on the product photo. You can control the final appearance by choosing different backgrounds (black, white, or other) while maintaining professional highlights for the best result.
As confirmed by our users, the objective 100mm macro gives excellent results with this system, allowing you to capture all the details of your jewelry with exceptional sharpness.
1. Choosing the right lens to shoot a ring
In packshot photography, the choice ofpurpose is crucial for getting shots of professional quality. Lens selection should be done carefully to ensure perfect images. THEmacro lens is perfect for photographing a ring or precious stones. It offers a 1:1 magnification ratio without additional accessories, while maintaining the sharpness And the particulars products. With a macro lens, you can capture smallest details and create exceptional packshots.
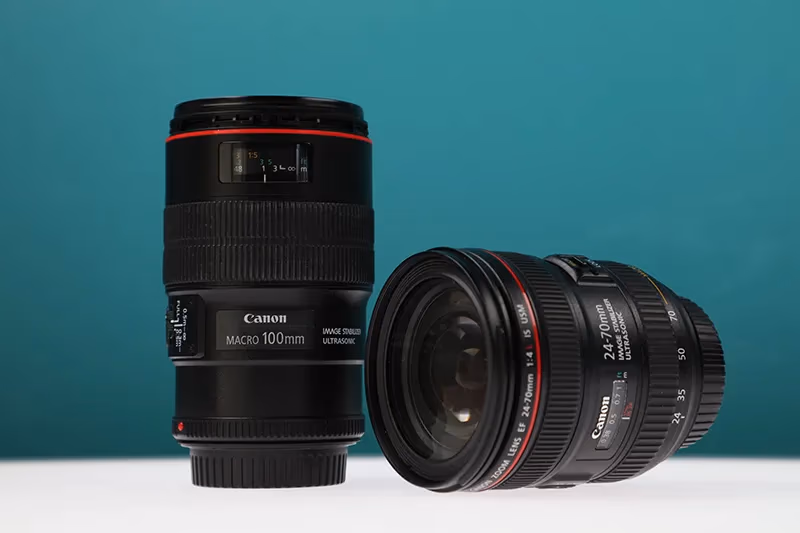
That is why we recommend theCanon 100mm macro lens, ideal for photographing a ring thanks to its sharpness and its ability to capture breathtaking details very closely. This lens will highlight the smallest details of your rings, highlighting the quality And thehandwork of your creations. However, it is important to note that the effect of fuzzy Due to a low depth of field is unavoidable with a macro lens. Although this effect is generally sought after and appreciated by photographers, it can make the macro lens unsuitable for certain uses. If not, you can always use the function Superfocus, included in the Alphashot Micro Pro v2 software, to eliminate progressive blur.
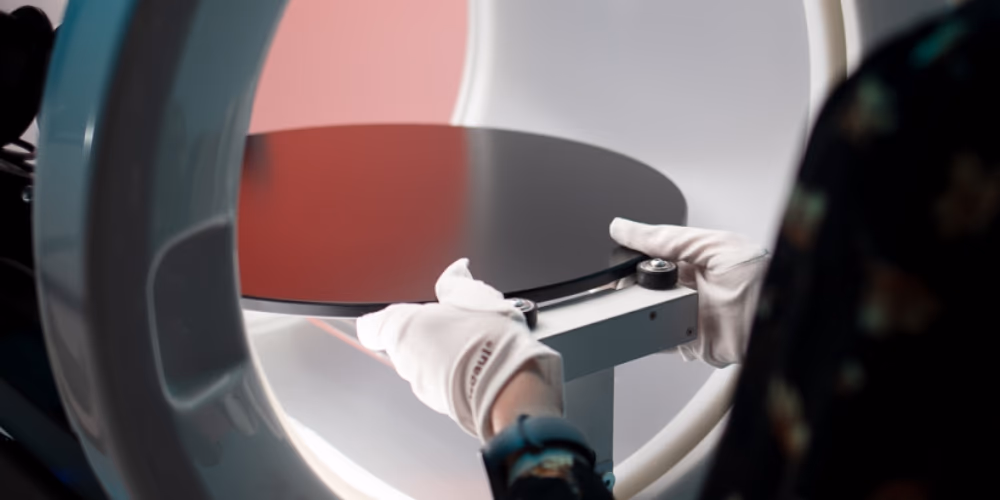
2. Use the transparent tray to photograph a ring and improve the appearance of the jewelry
The Orbitvu transparent tray is an essential tool for photographing a ring. It offers a clean, distraction-free background, ideal for enhancing the appearance of rings and other precious pieces. Thanks to his smooth and homogeneous surface, the tray reduces unwanted reflections and highlights the meticulous details And the sheen jewelry. In addition, this tray includes a marked center point, crucial for perfectly aligning the ring with theaxis of rotation, thus ensuring a uniform and professional presentation of each room.
To get a perfect alignment, it is essential to position the ring precisely on this central point. Make sure the ring doesn't move and that it's secure Fixed at this location. This precision guarantees the consistency of your photos, especially when you're shooting multiple images from different angles. Using this device, you will be able to capture high quality visuals that highlight the beauty And thesheen of your creations.
3. Place the ring flat or standing with clear adhesive
Once you have your transparent tray ready and your camera is ready, you can place the ring in flat Or make it stick up using a transparent adhesive. Unlike other solutions on the market, the Alphashot Micro V2 does not have an integrated system to hold the rings in a vertical position. This is why the transparent adhesive technique is particularly important. Make sure that thelighting be well adjusted to avoid unwanted shadows. This adhesive can then be removed easily using retouching tools, via the software, thus ensuring that your images remain flawless. Remember to check thealignment And the Focus to get the best possible results.
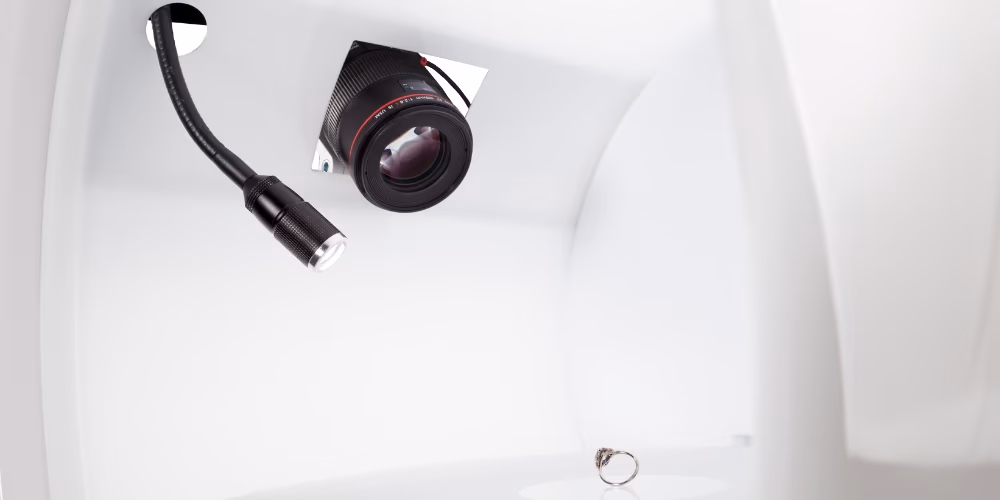
4. Position the adjustable spots to shoot a ring, add shine and soften the light with diffusers
The Orbitvu studio is equipped with adjustable spotlights, perfect for adding sheen and highlight thenatural shine precious stones. These spots are of a great precision, allowing photographers and creators to carefully control the lighting thanks to the embedded software. THEloudness of the spot can be changed from 1 to 100%, depending on the desired effect, and diffusers can be used for soften the light and avoid hard shadows. In addition, the adjustment of the spots, thanks to their articulated arms, offers a flexibility additional to illuminate each facet and Reflection precious stones, thus ensuring photos of a exceptional quality.
5. Use silver and black reflectors to manipulate light and shadows
Create a adequate contrast is crucial in jewelry photography. The use of silver and black reflectors allows you to control the light And the shadows around the ring, thus highlighting its distinctive characteristics such as gemstone inlays And the fine details. These reflectors also optimize the color rendering And textures of your jewelry, sublimating each piece in a refined way.
For example, to photograph a diamond ring, use the silver reflector in order to create bright flashes can give an effect impressive sparkly. You can also emphasize the facets of the diamond and capture Light games that enhance the elegance of the room. This makes it possible to highlight the sheen And the purity precious stones under different lights. On the other hand, to photograph a ring with darker shades or in matt metal, use a black reflector to accentuate the shadows can add depth And of mystery to the final image. This makes it possible to create striking contrasts that highlight the subtle details of the materials, while adding a touch dramatic to the whole composition.
6. Adapt the lighting for particular stones such as amber
For a product photographer, whether amateur or professional, the light is the main tool after the camera. The objective is to produce a series of photos Coherent and True to reality. To photograph a ring, certain stones, such asamber, may react negatively to intense lighting. It is therefore essential toadapt your approach. Avoid lamps that could hide the natural beauty stones and experience different light settings, via the software, to find the most suitable configuration flattering.

When mastered, it enhances the colours, reveals the particulars, the brilliances And thesheen of the stone. The Alphashot Micro Pro v2 is equipped with an exclusive system ofcylindrical lighting around objects. Thanks to its LED backlit removable side doors, you can let your creativity run wild while benefiting from more lighting subtle. In addition, the software integrated into the Orbitvu photo studio allows you to save your light settings using predefined templates, thus guaranteeing a perfect homogeneity in all of your jewelry photos. Such a system offers the lighting accuracy essential for photographing a ring and reproducing the sumptuous effect of a jeweler's window. It also allows a virtual interaction with your prospect.
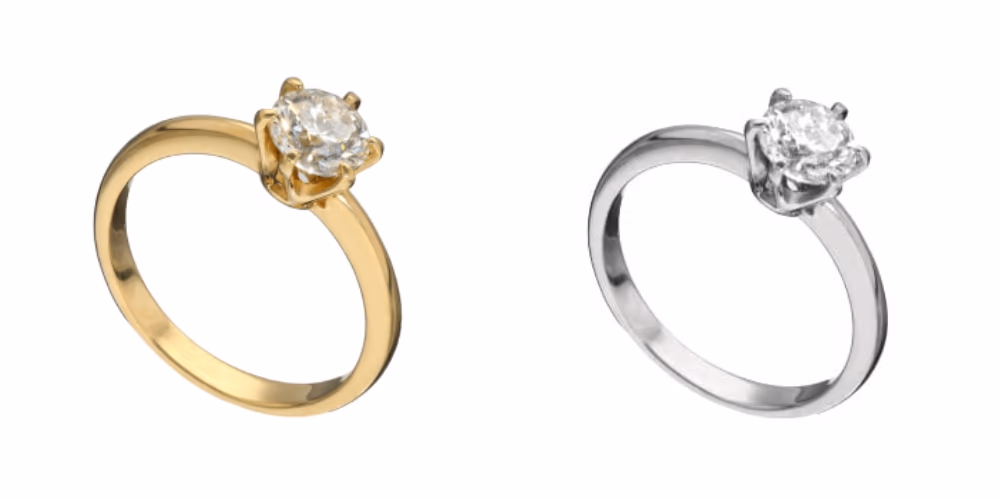
7. Use the software for post-production and adjust the colors of silver or gold jewelry
The embedded software Accelerate it post-production of your content thanks to a multitude oftools And of functionalities. In particular, it offers the possibility ofAdjust colors selectively of your jewelry, regardless of their material or color. Photographing a ring in silver Or in gold requires particular attention to the color fidelity. As mentioned earlier, it is essential to use appropriate lighting to avoid hard shadows And the unwanted reflections. Opt for a neutral background in order to highlight the pieces and to highlight their natural shine.
In addition, use the software of retouching, integrated into the Orbitvu photo studio. Adjust the shades greys and yolks, by playing on the Gray tolerance, the saturation And the luminosity. This makes it possible to ensure that the true colors jewels appear Net and Brilliant without capturing the surrounding reflections. Also take the time to refine the contrasts and to balance the light levels. This will allow you to get an image that best reflects the beauty And the quality jewelry photographed. Don't forget to refine the particulars and to correct the small imperfections to get a final result spotless !
8. Use a black tray setup and a black reflector for striking images
The little magic touch of successful jewelry photography lies in the use of interchangeable trays. Let it be white, black Or in glass, a tray allows you to present your products as you wish. Depending on the type of jewelry and the desired atmosphere, you can play with reflections And the contrasts. This allows you to highlight particulars And the Subjects of your jewelry. Indeed, with this technique, you will be able to create photos Uniques and captivating that will catch the eye of customers.
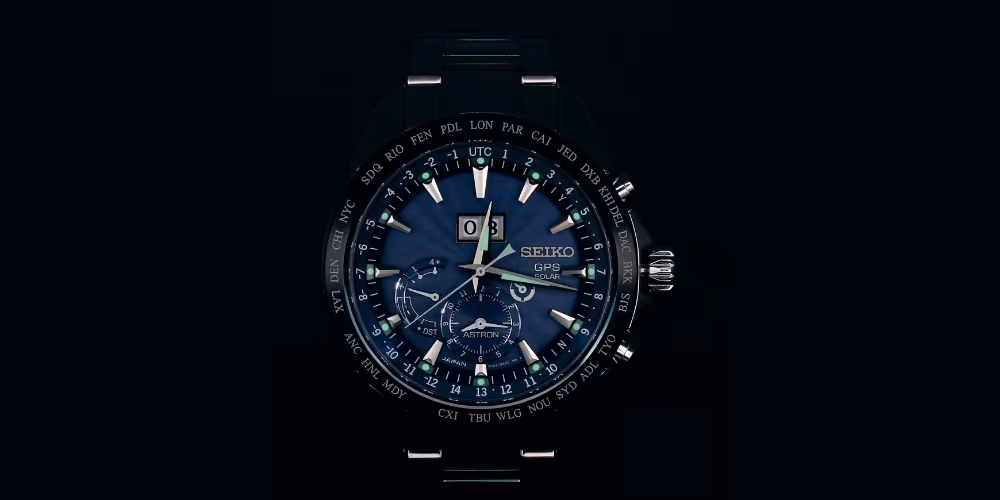
Our configuration of Black table and black reflector Sublimate your jewelry. It highlights their sheen And their particulars. Perfect for images captivating and professionals, it gives your jewelry an appeal elegant. With this installation, capture each facet and Reflection of your jewelry to seduce your customers. Contact us to find out more!
Conclusion
Thanks to these 8 steps and at theAlphashot Micro Pro v2, photographing a ring like a professional is possible. Each step optimizes your workflows for results exceptional and homogeneous. These tips improve the quality of your photographs and highlight your jewelry in a occupational. Indeed, these techniques highlight each detail and accentuate the sheen precious stones.
La precision And the clearness of Orbitvu equipment bring out the beauty of each room. It attracts customer attention and increases your Sales. You will win in efficiency and each photo will accurately reflect the quality of your products. This is essential to build the trust And the satisfaction of your customers.
Ready to improve your product photography? Contact us today to find out more about our photography studio specialized in jewelry. You can also schedule a personalized demonstration with our experts. They are available to answer your questions and guide you in using our advanced technology.


